Dutchwebhosting biedt alle Plesk 12 handleidingen die online staan in twee verschillende formaten aan. De video versie vindt u hieronder als eerste terug. Daaronder vindt u de tekst versie met screenshots en uitleg. Wanneer de video versie niet scherp genoeg is, dan kunt u op de knop 'maximaliseren' klikken (rechts onderaan).
Handleiding 'Een auto-reply of autoresponder instellen in Plesk 12' in videoformaat
Handleiding 'Een auto-reply of autoresponder instellen in Plesk 12' als tekstversie met screenshots
This demo assumes you've already logged in to Plesk.
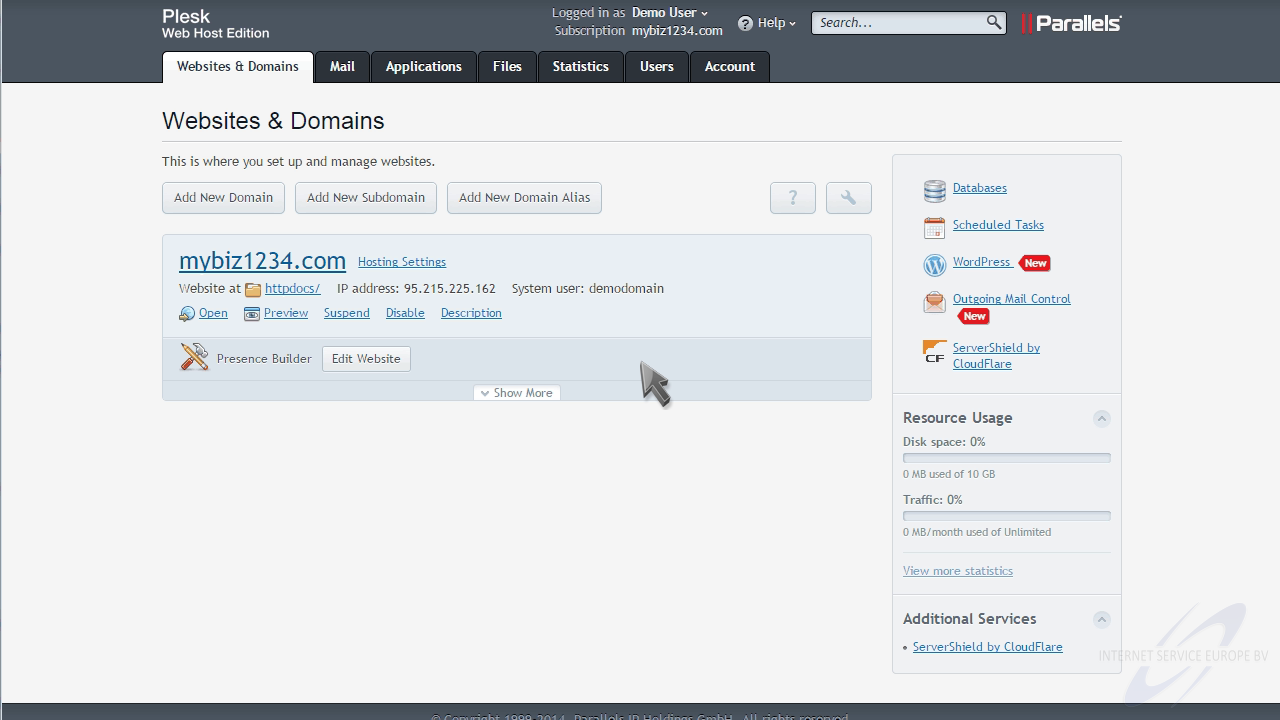
Now let's learn how to enable auto-reply for an email account.
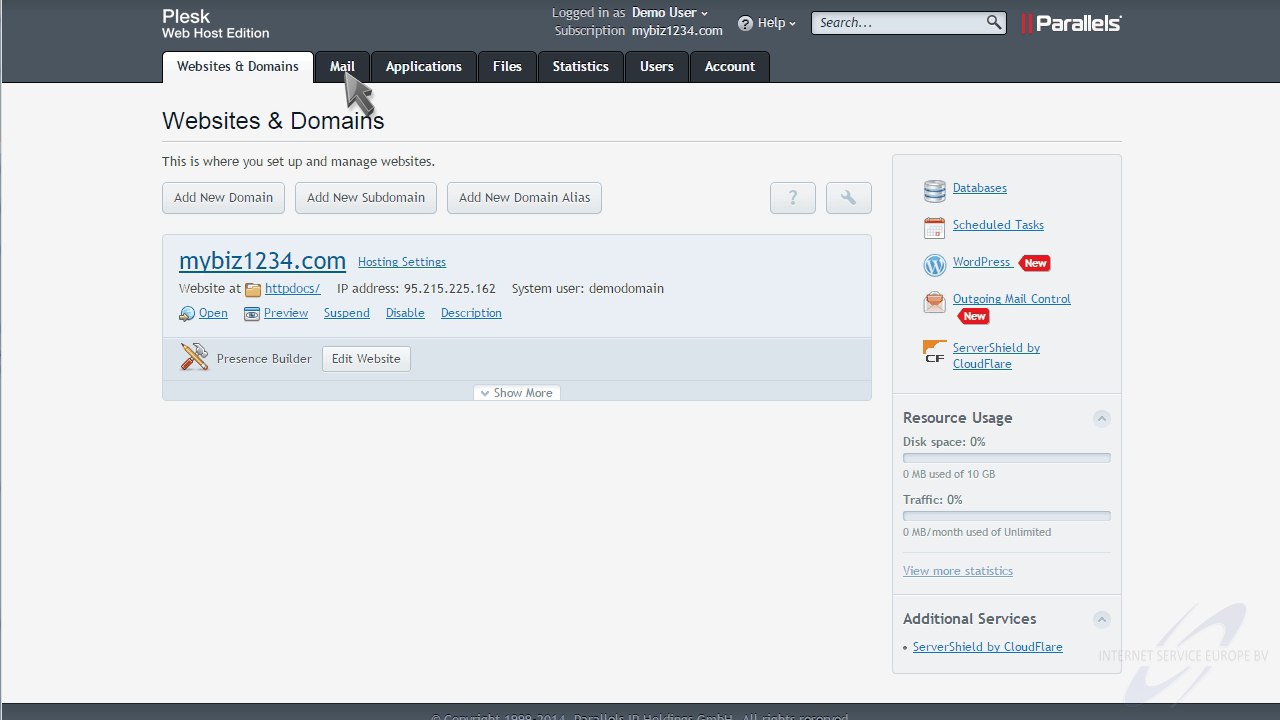
Click the "Mail" tab.
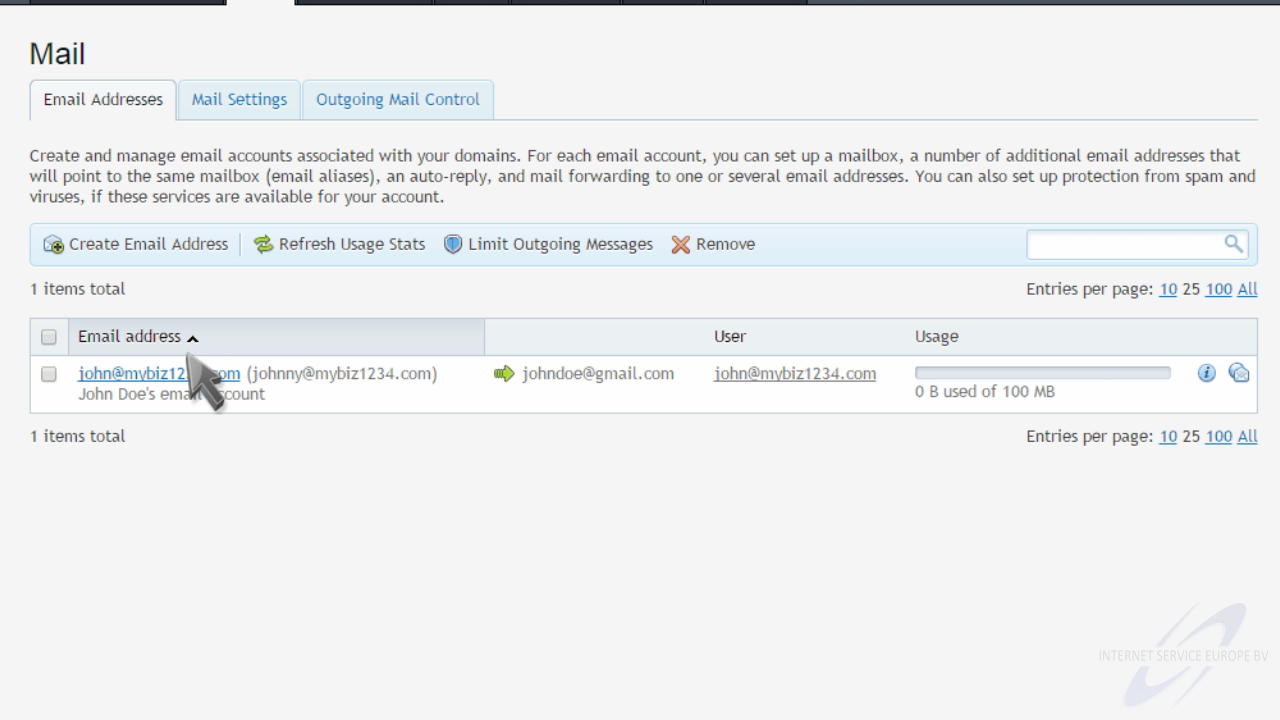
Select the email address for which you want to setup an auto-reply.
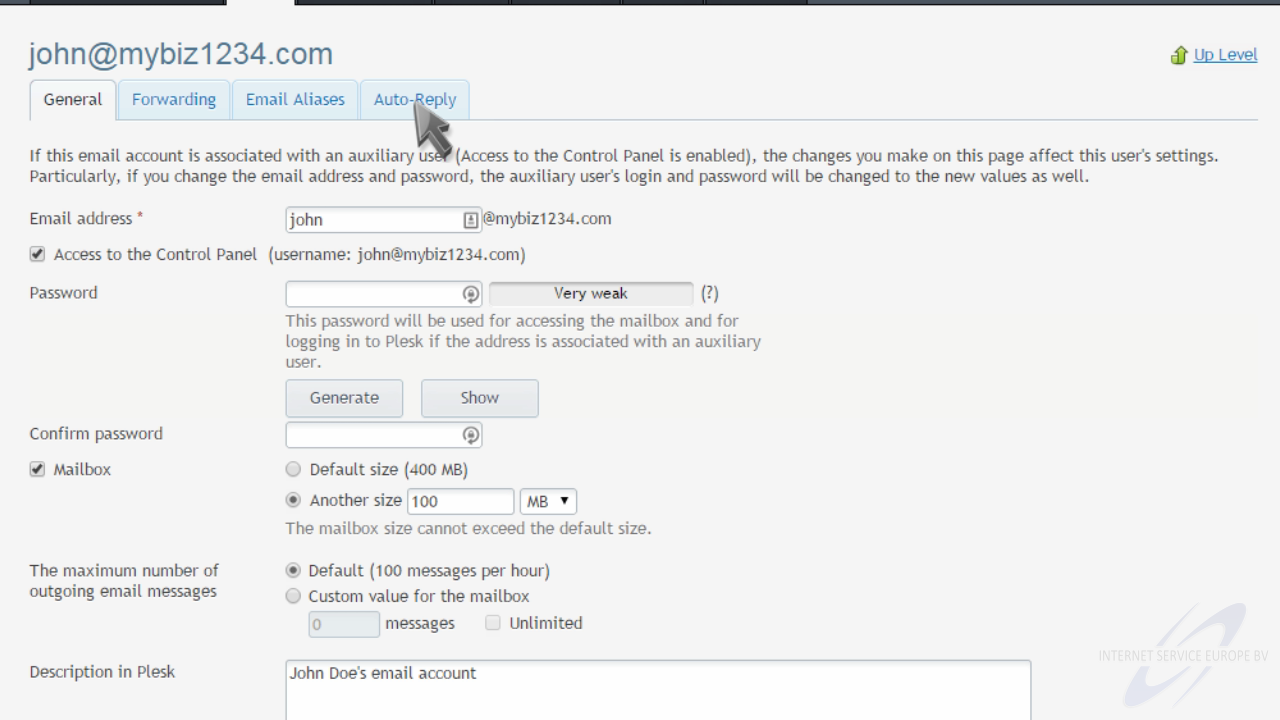
Then click the "Auto-Reply" tab.
Click to switch on auto-reply, then complete the form.
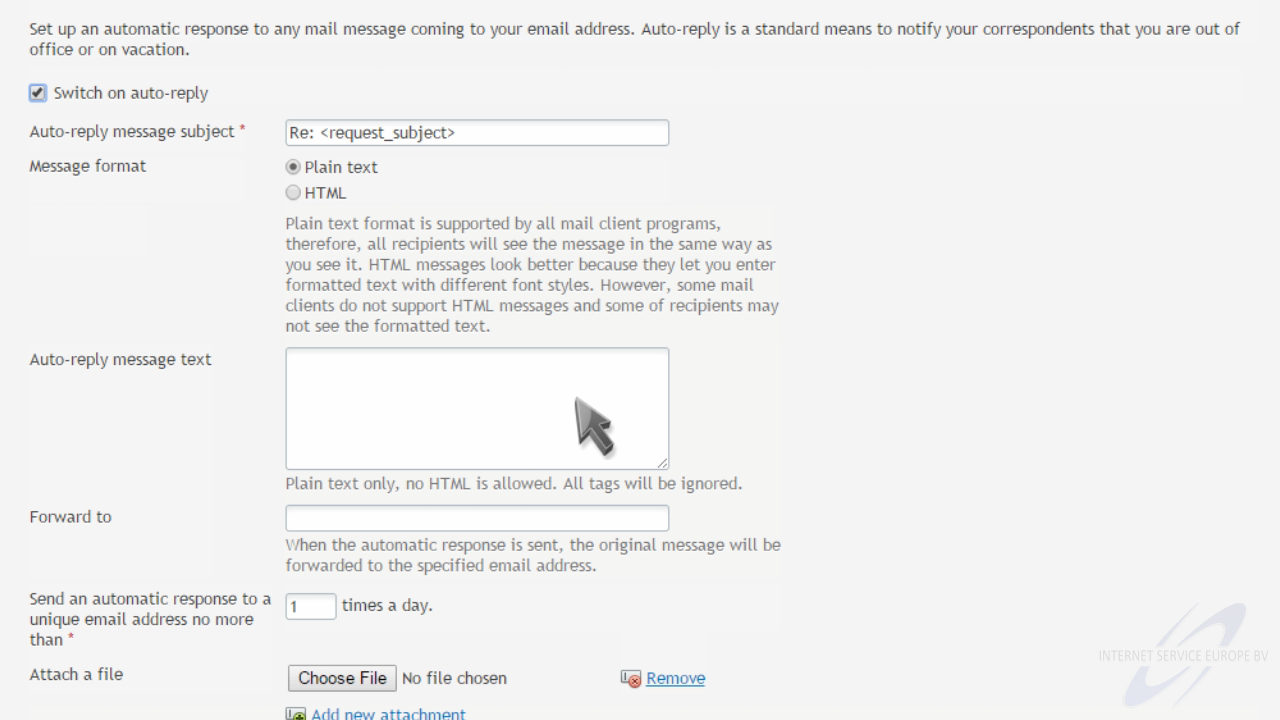
If you also want the original message forwarded to another email, enter it in the "Forward to" field.
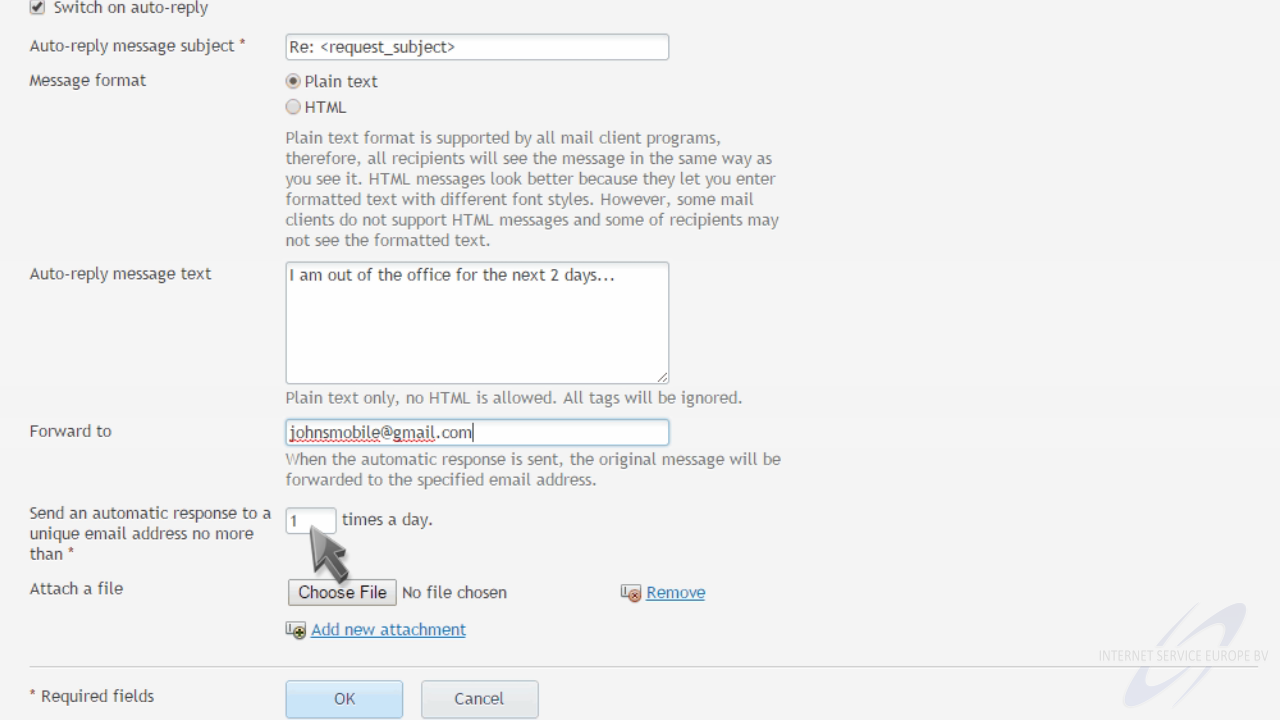
When ready, click "OK".

That's it! Now when an email is sent to john@mybiz1234.com, the auto-reply message will automatically be sent back to the sender.

This is the end of the tutorial. You now know how to enable auto-reply for an email account in Plesk.
Voor het Plesk controle paneel hebben wij een groot aantal handleidingen online staan waarin standaard zaken, zoals het aanmaken van een emailaccount of het gebruik van webmail duidelijk wordt uitgelegd. Dutchwebhosting update deze handleidingen regelmatig.
 Plesk 9 handleiding voor gebruikers Plesk 9 handleiding voor gebruikers |
|
| Plesk 10 handleiding voor gebruikers |
|
| Plesk 11 handleiding voor gebruikers |
|
| Plesk 11 handleiding voor resellers |
|
| Plesk 12 handleiding voor gebruikers |