Dutchwebhosting biedt alle Plesk 12 handleidingen die online staan in twee verschillende formaten aan. De video versie vindt u hieronder als eerste terug. Daaronder vindt u de tekst versie met screenshots en uitleg. Wanneer de video versie niet scherp genoeg is, dan kunt u op de knop 'maximaliseren' klikken (rechts onderaan).
Handleiding 'Een Wordpress site aanmaken en instellen in Plesk 12' in videoformaat
Handleiding 'Een Wordpress site aanmaken en instellen in Plesk 12' als tekstversie met screenshots
This demo assumes you've already logged in to Plesk.
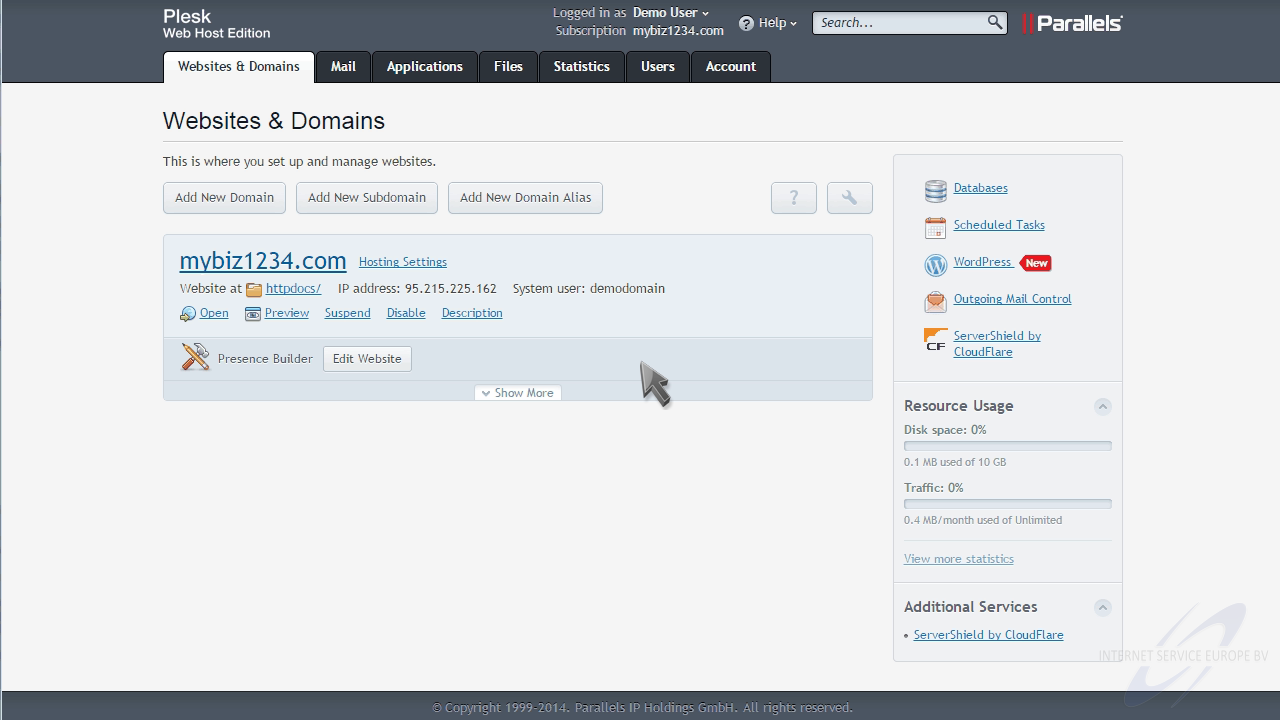
Now let's learn how to setup a WordPress website.
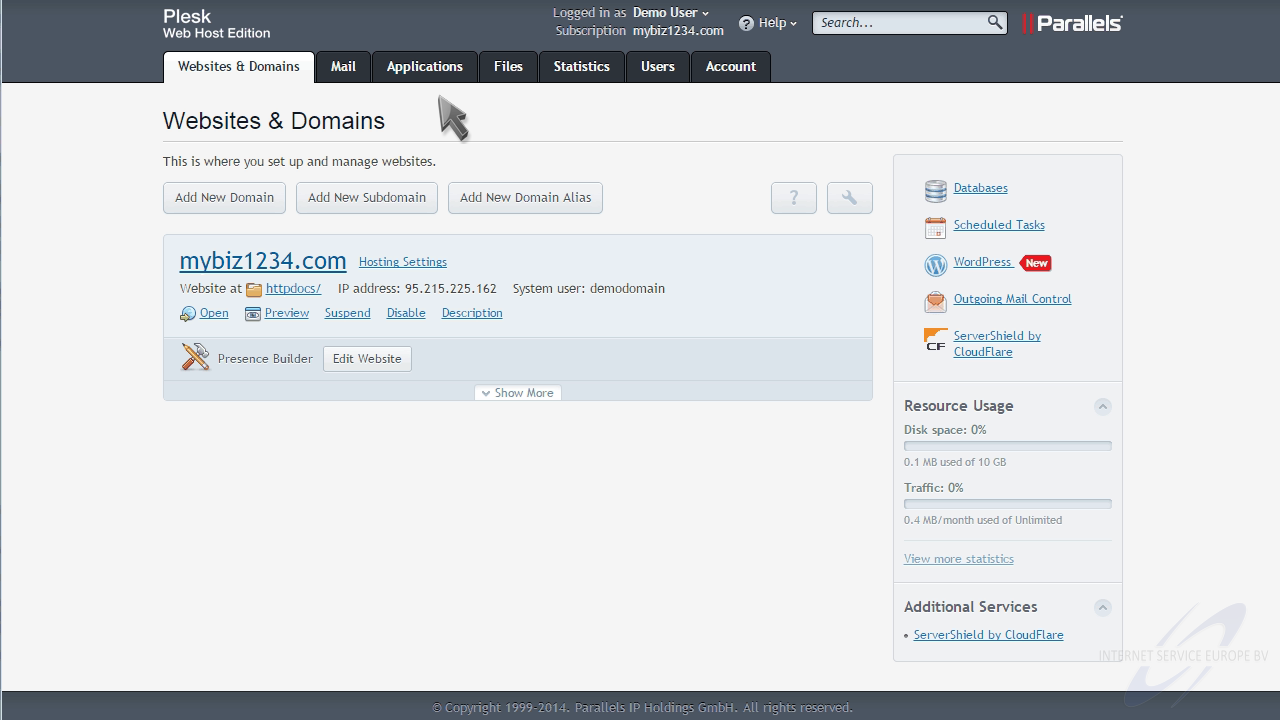
If you see a WordPress link here on the right, you can click it... otherwise, click the "Applications" tab.
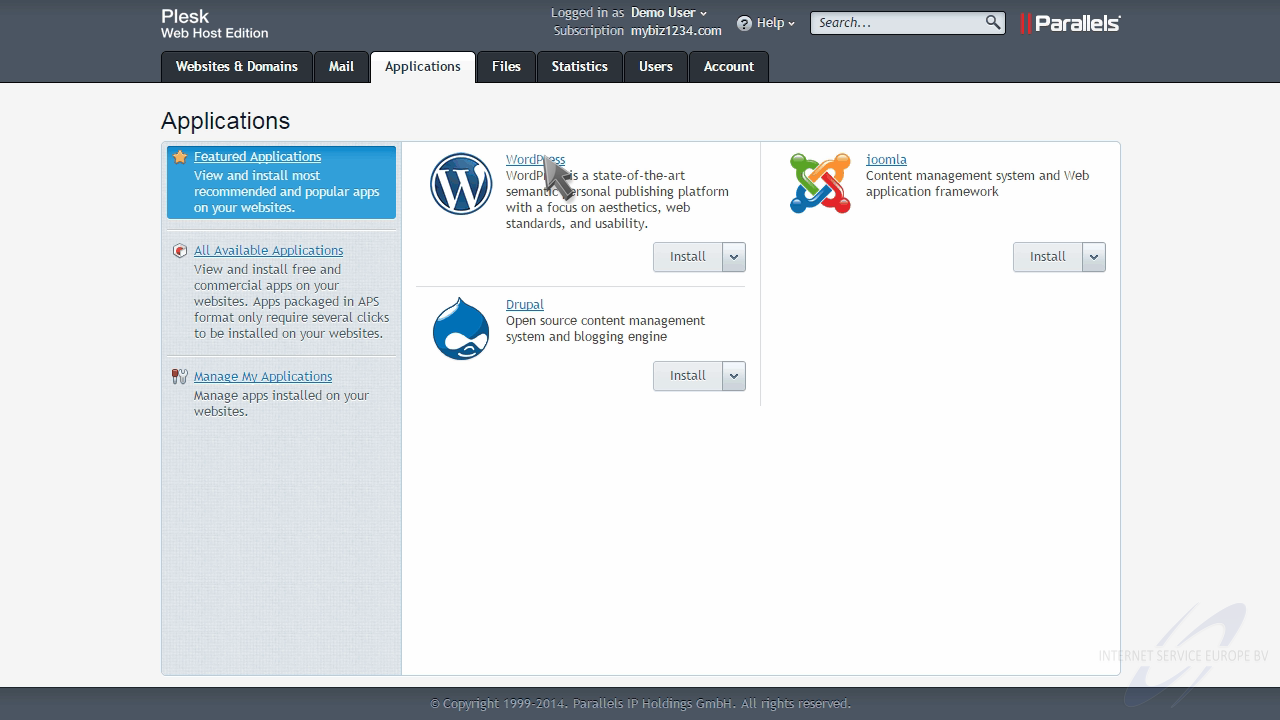
Then click "WordPress".
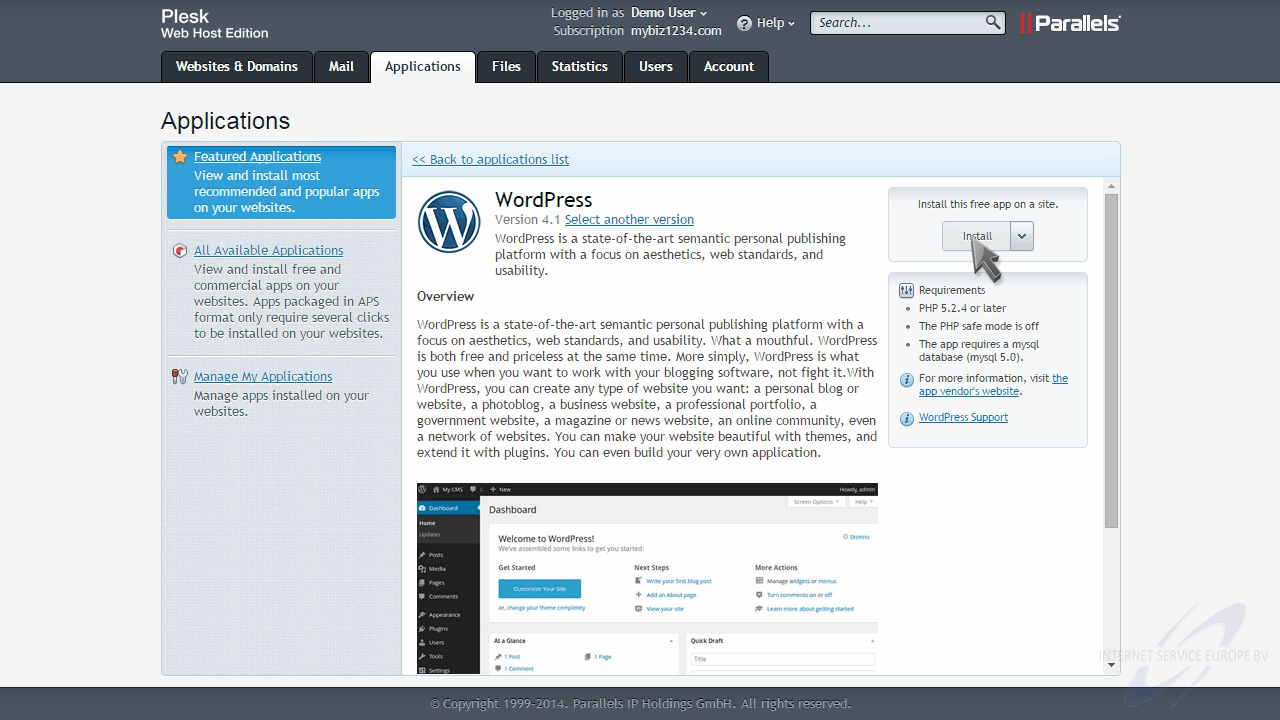
From here you can learn more about the WordPress app... or just install it.
That's it! WordPress has been installed, and we can now begin to manage our new website.
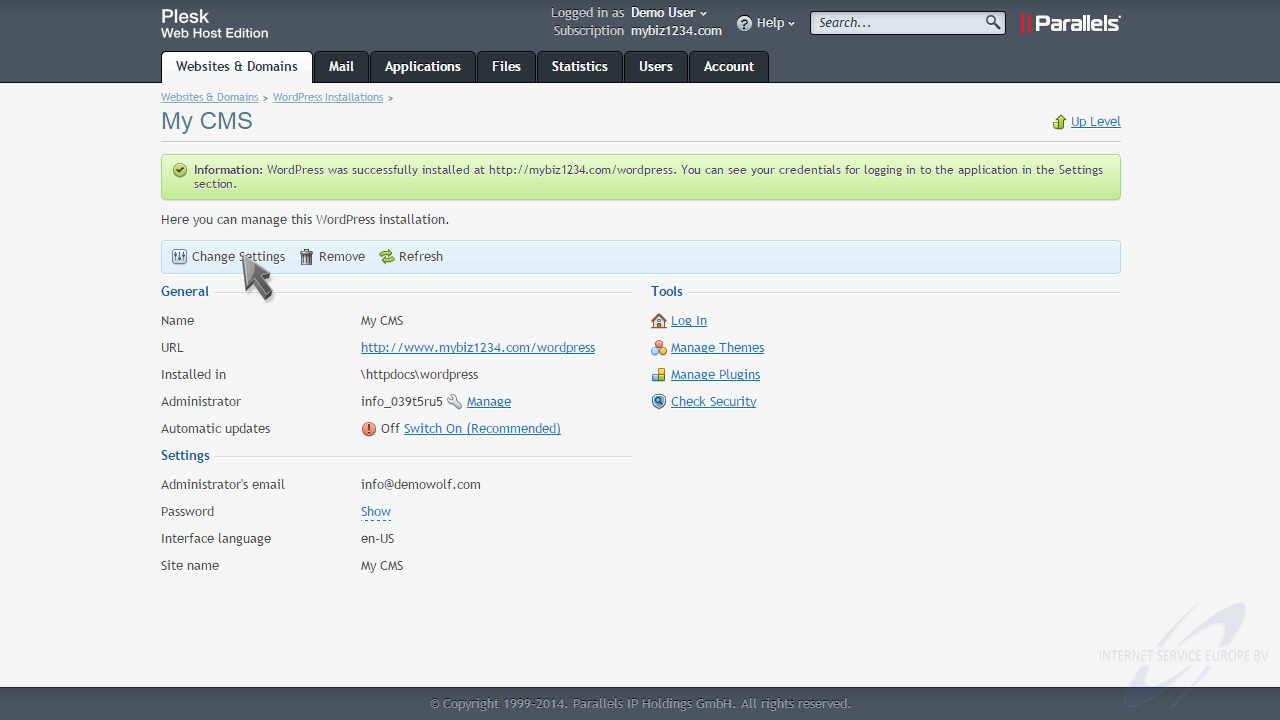
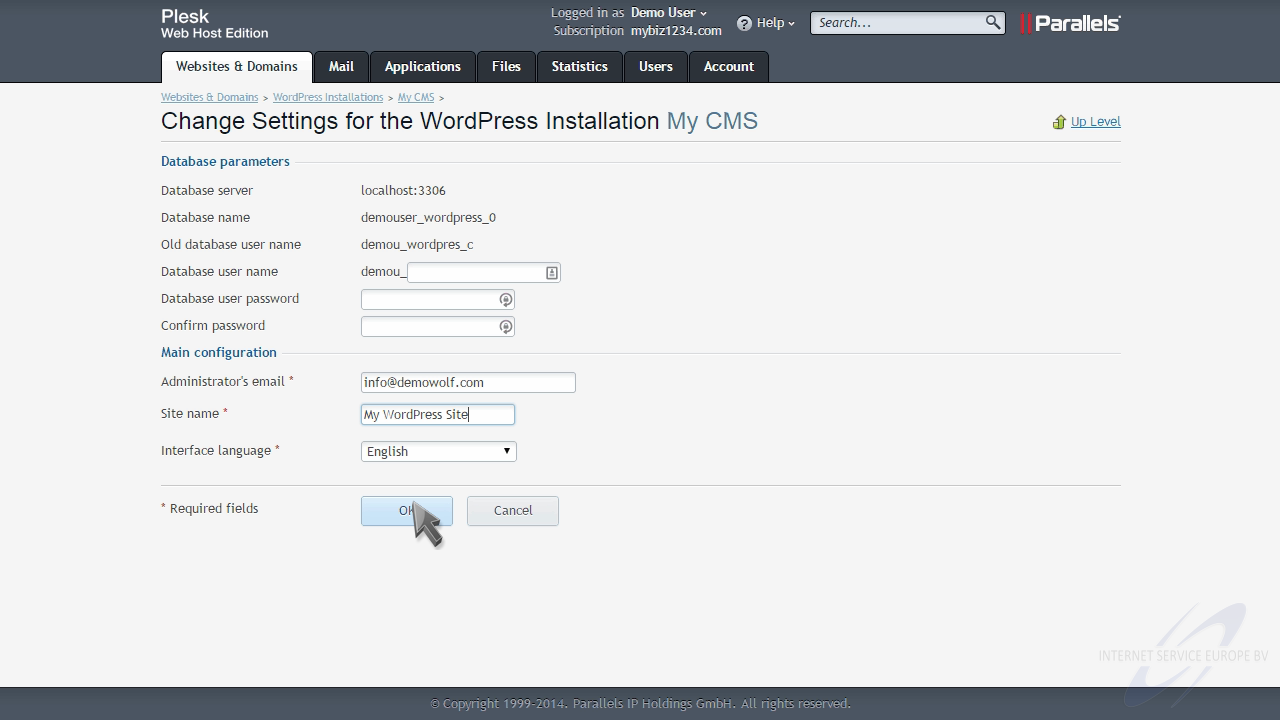
You can madify your WordPress settings, including changing your site name.
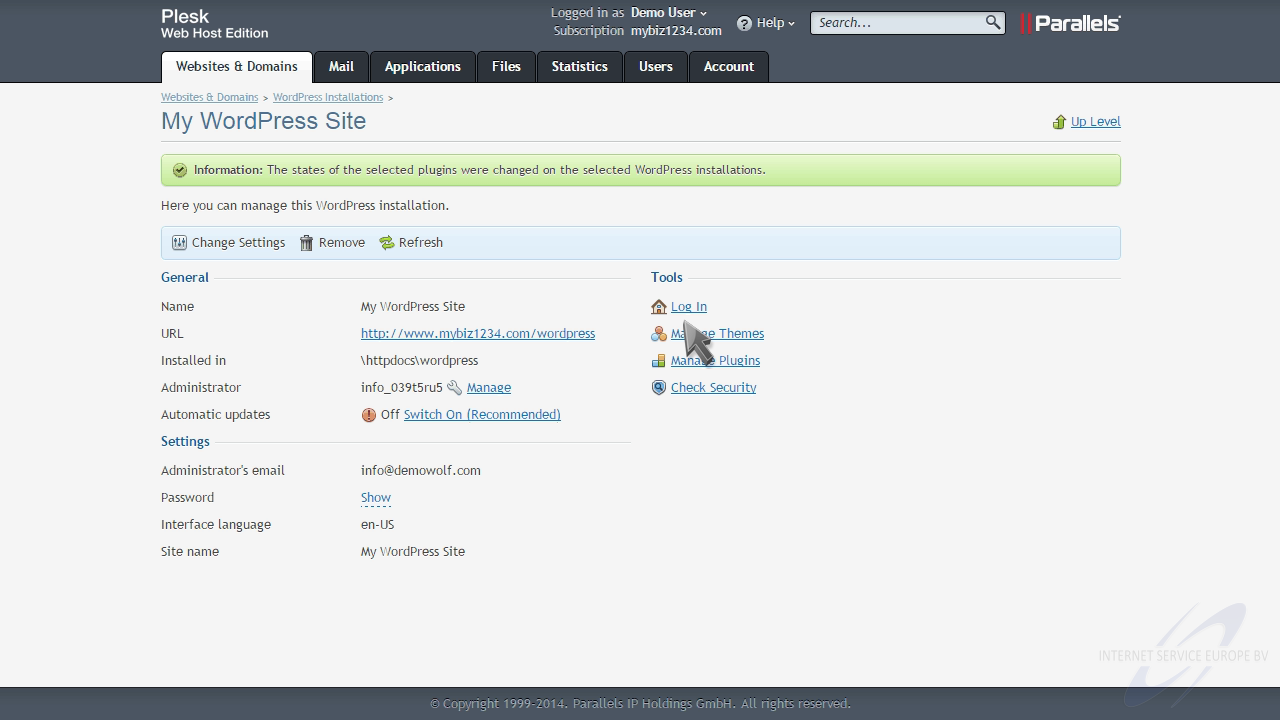
You can also manage WordPress Themes...

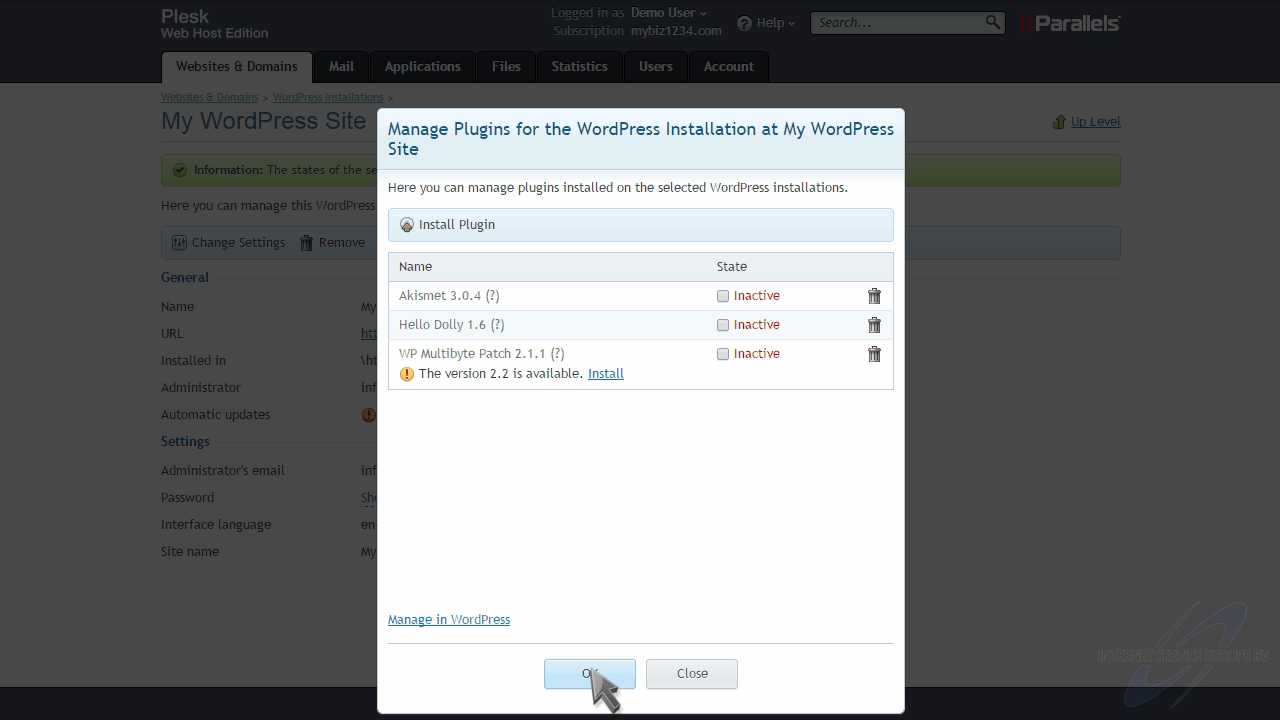
... and manage WordPress Plugins directly from here in Plesk.
You can login to WordPress from here as well.
This is the main admin page of your WordPress installation, and it is from here that you can completely manage your website.
You can view a live version of your WordPress site from here as well.

This is what your WordPress website looks like so far. Return to the WordPress admin page to modify its look and feel with themes and plugins, and to update its content.
This is the end of the tutorial. You now know how to setup a WordPress site in Plesk.
Voor het Plesk controle paneel hebben wij een groot aantal handleidingen online staan waarin standaard zaken, zoals het aanmaken van een emailaccount of het gebruik van webmail duidelijk wordt uitgelegd. Dutchwebhosting update deze handleidingen regelmatig.
 Plesk 9 handleiding voor gebruikers Plesk 9 handleiding voor gebruikers |
|
| Plesk 10 handleiding voor gebruikers |
|
| Plesk 11 handleiding voor gebruikers |
|
| Plesk 11 handleiding voor resellers |
|
| Plesk 12 handleiding voor gebruikers |