This section contains expanded instructions explaining how to perform other tasks not covered in the tutorial.
Customers do not have the ability to change their user account login name in the Plesk GUI. To change your user account login name, contact your provider.
To change your password, place the mouse pointer over your username located at the top of the page and click Edit Profile, or go to My Profile. Type in your new password and confirm it.
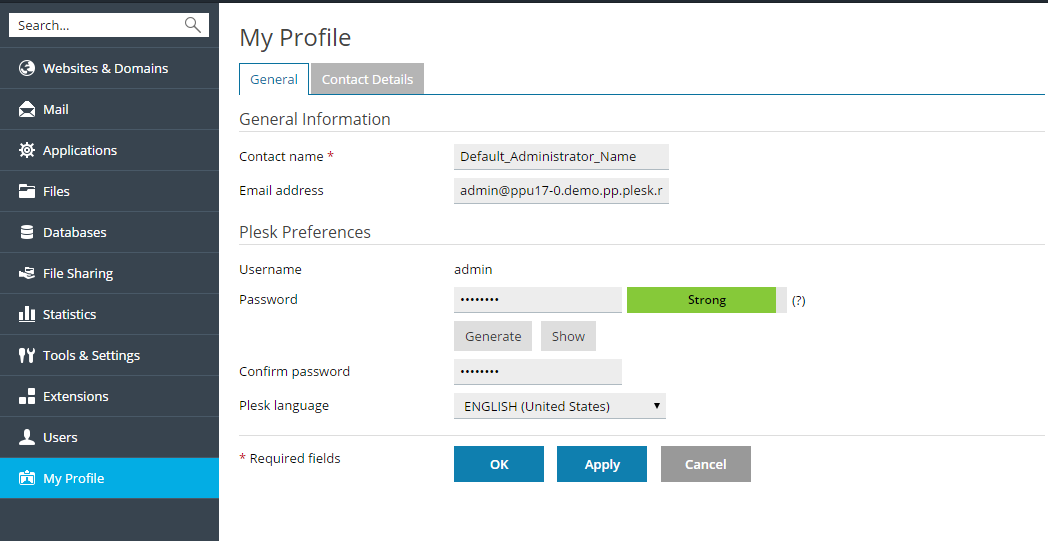
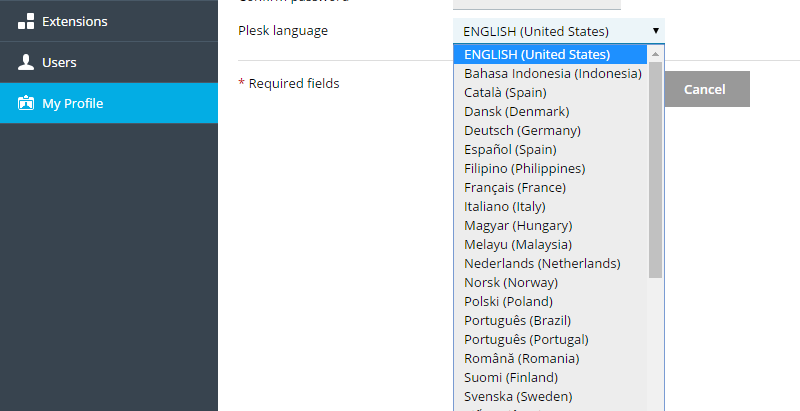
To change your interface language, place the mouse pointer over your username located at the top of the page and click Edit Profile, or go to My Profile. Select the desired language from the Plesk language menu.
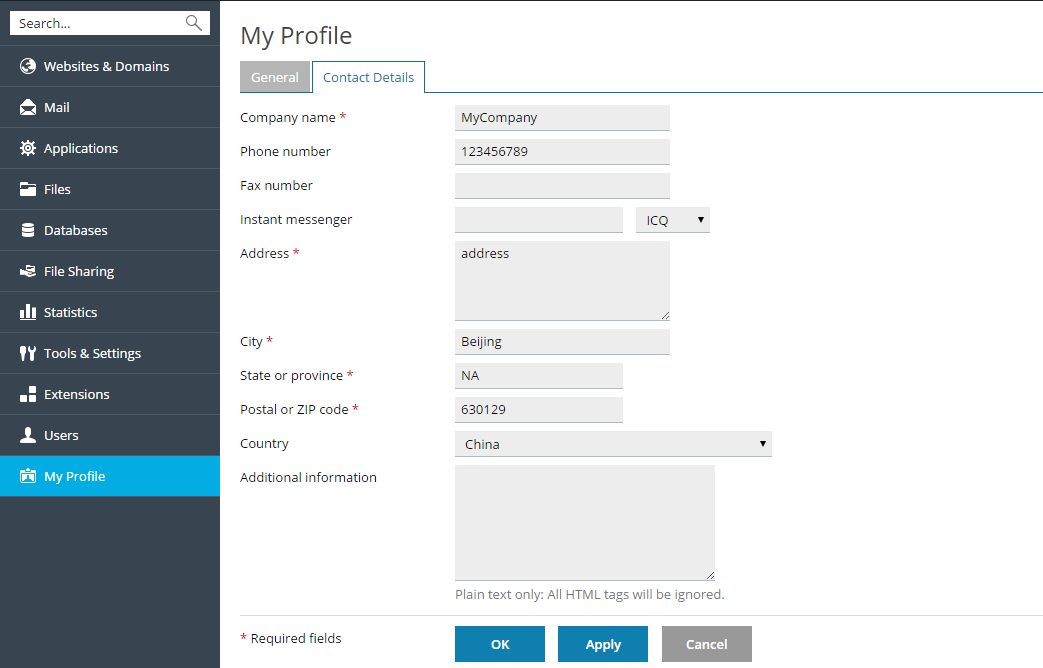
To change your contact details, place the mouse pointer over your username located at the top of the page, click Edit Profile, or go to My Profile. Then go to the Contact Details tab. Change your contact details and confirm them.
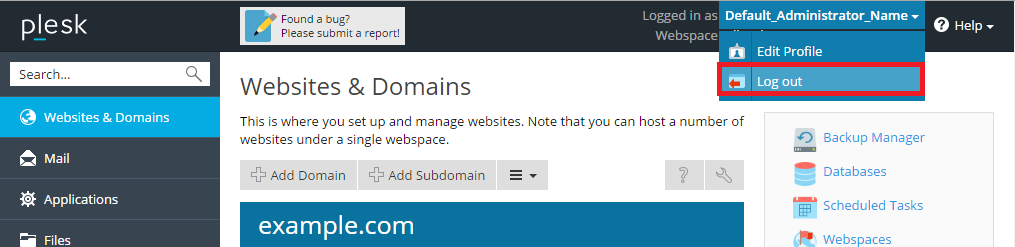
To log out of Plesk, place the mouse pointer over your username located at the top of the page, and click Log out.
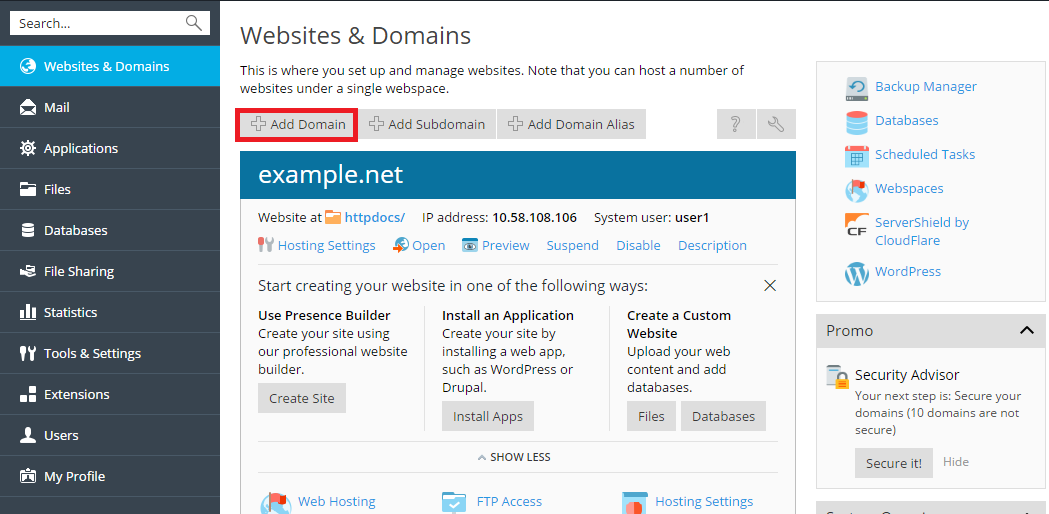
If your subscription allows it, you can create more than one domain on a single subscription. The newly added domain will share the subscription's resources with all other domains belonging to the same subscription. However, in all other respects the newly created domain will be independent from the principal one - it will have its own web hosting and DNS settings, databases, mail accounts, and so on.
Adding a new domain is helpful in the following scenarios:
To add a new domain, go to Websites & Domains > Add Domain.

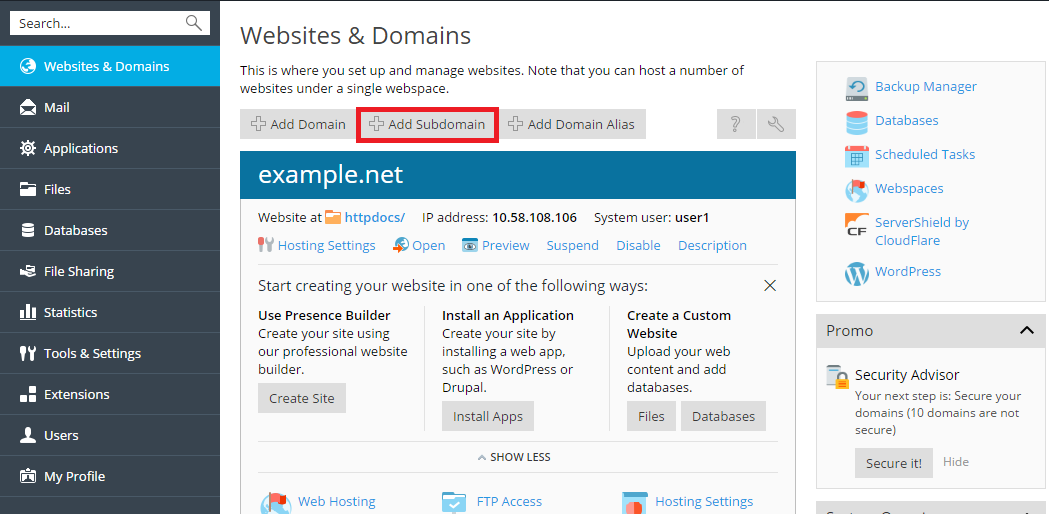
If your subscription allows it, you can create one or more subdomains, or third-level domains, for each of your domains. Subdomains share all the subscription's resources with all the other domains and subdomains belonging to the same subscription. However, every subdomain can have its own web hosting and DNS settings.
Adding a new subdomain is helpful in the following scenarios:
To add a new subdomain, go to Websites & Domains > Add Subdomain.
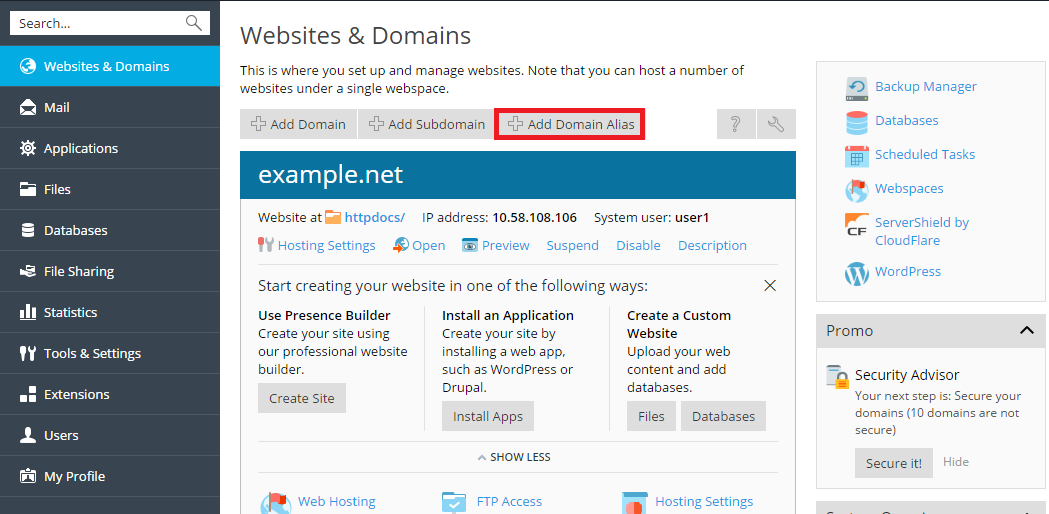
If your subscription allows it, you can create one or more domain aliases. Domain aliases do not have any content of their own, but instead redirect to a different website when visited. Note that unless you already have another second-level domain name registered, you will need to register one for the domain alias. You may be able to register a domain name through your provider. Alternatively, you can purchase one from a domain registrar of your choice.
Adding a new domain alias is helpful in the following scenarios:
To add a new domain alias, go to Websites & Domains > Add Domain Alias.

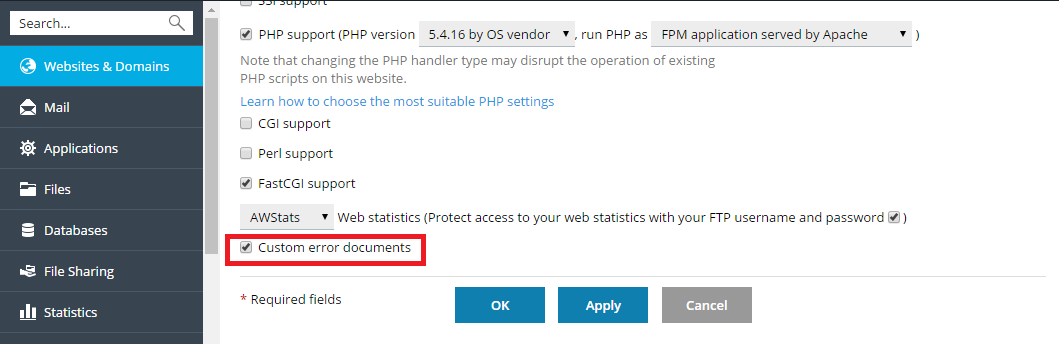
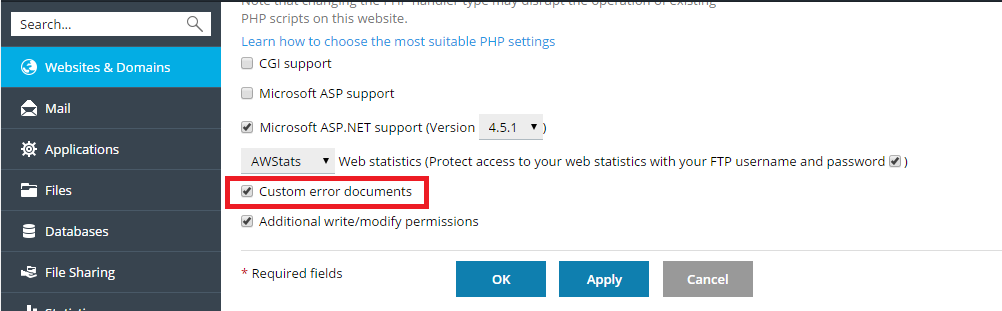
Whenever the web server encounters an error that prevents it from correctly displaying the page of your website a visitor has requested, a special error page is displayed along with the relevant error code. By default, such pages are often generic and may not be sufficiently informative. You can replace the standard error pages with custom ones.
error_docs directory.The web server will start using your error documents after it is restarted.
Select the Custom error documents checkbox and click OK.
error_docs directory situated in the virtual host directory of the domain, select File from the Type menu and specify the file name in the Location field. error_docs, select URL from the Type menu and enter the path to your document in the Location field. The path must be relative to the virtual host root (that is, the %plesk_vhosts%\<domain_name>\httpdocs folder).For example, you have created a file named forbidden_403_1.html and saved it in the my_errors directory located in the httpdocs directory. To use this file as an error document, you need to type the following path into the Location field: /my_errors/forbidden_403_1.html.
Note: You can use FTP or File Manager in Plesk to upload your custom error document to the server. By default, all error documents are stored in the %plesk_vhosts%\<domain_name>\error_docs\ directory.
The web server will start using your error documents after it is restarted.
Plesk provides two ways of setting up the search engine friendly HTTP 301 redirection from one website to another. This allows preserving search engine rankings of the website to which visitors are redirected. For example, if you set up HTTP 301 redirection from example.com to www.example.com, search engines will treat both www and non-www versions as the same site. If you use HTTP 302 redirection instead, the www and non-www versions will be treated as different sites. As a result, rankings will be split between them.
To set up HTTP 301 redirection using domain aliases, go to Websites & Domains > Add Domain Alias.
To set up HTTP 301 redirection using forwarding hosting type, go to Websites & Domains > Add Domain.
As a rule, any website is available using both a URL with a www prefix (such as www.example.com) and one without it (such as example.com). We recommend that you pick one and always redirect visitors from the other. Typically, the non-www version is chosen to accept all visitors. As an example, if you configure the non-www version (example.com) as the preferred domain, a visitor will be redirected to example.com even if they type www.example.com in their browser address bar.
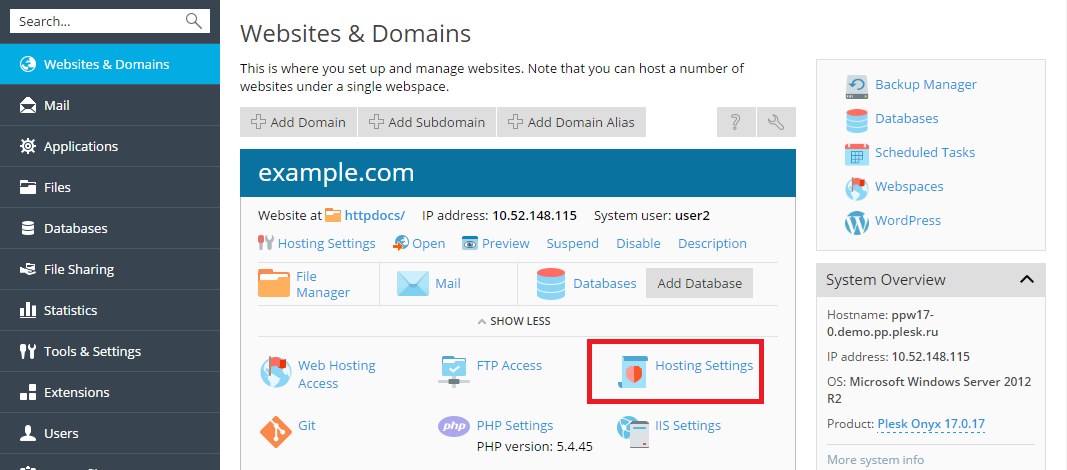
To configure or disable the preferred domain, go to Websites & Domains > Hosting Settings.
Plesk uses the search engine friendly HTTP 301 code for the redirection. This allows for preserving search engine rankings of your site (preferred domain). If you disable the redirection, search engines will treat both www and non-www versions as different sites. As a result, rankings will be split between them.


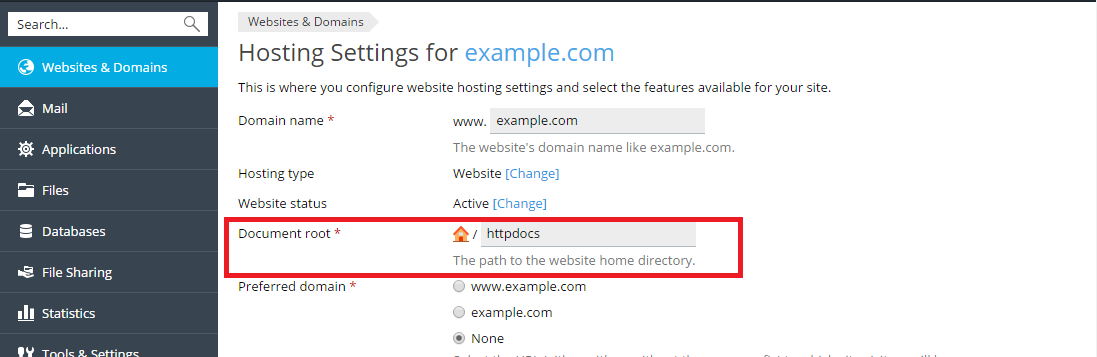
Every domain in Plesk created with website hosting has its own directory created on the server's file system. By default the path to the directory is as follows:
/var/www/vhosts/<domain_name>C:\Inetpub\vhosts\<domain_name>This folder contains the document root directory, that is, the folder where all the domain's web content is stored. By default it is the httpdocs folder, but it can be changed in Plesk.
To change the document root directory, go to Websites & Domains> Hosting Settings and change the directory name in the Document root field.
To change the PHP version, go to Websites & Domains > Hosting Settings and select the required version in the PHP version menu.
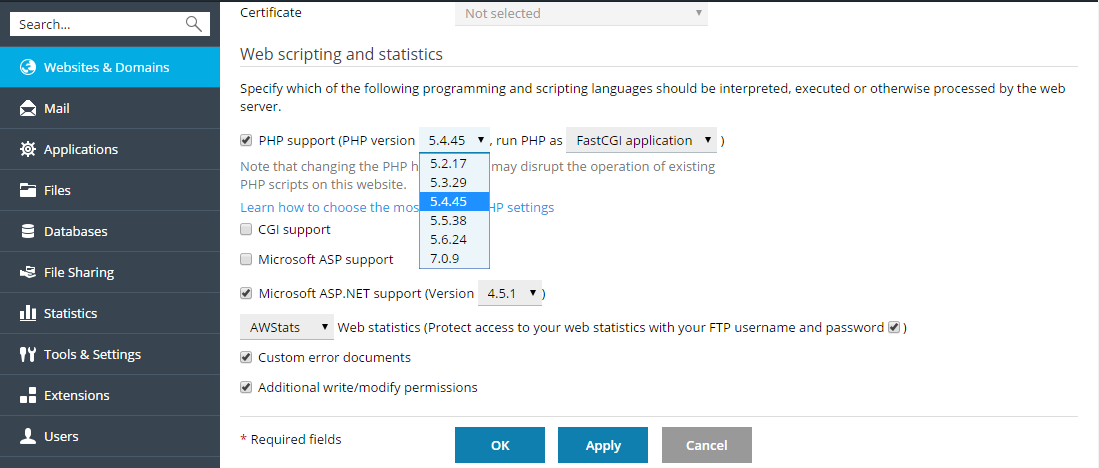
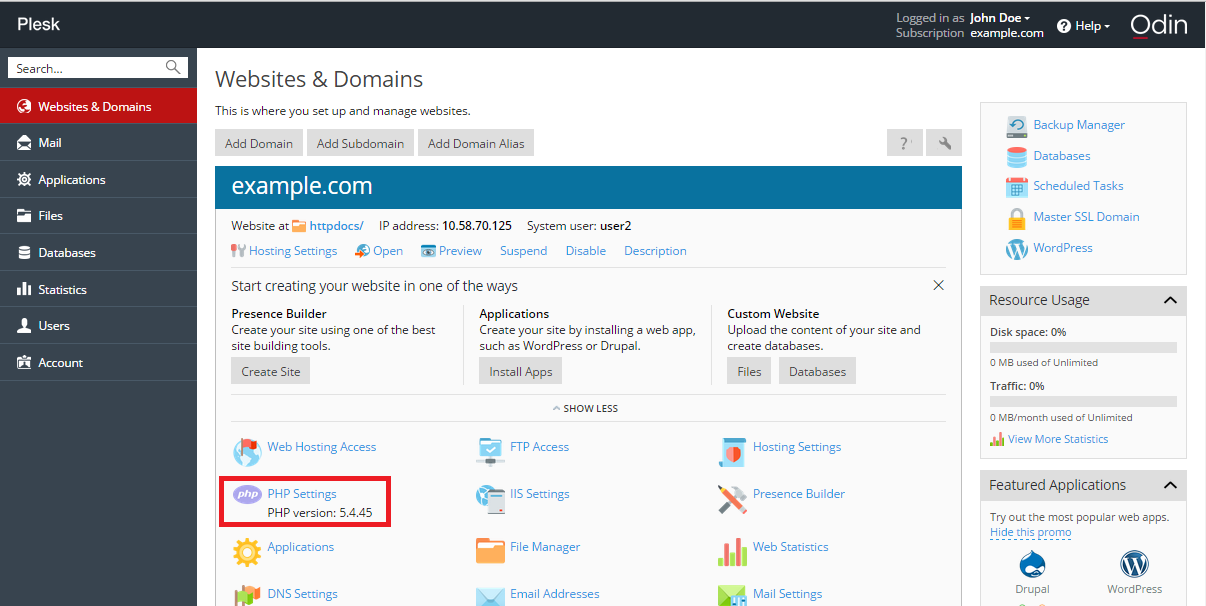
To change PHP settings, go to Websites & Domains > PHP Settings.
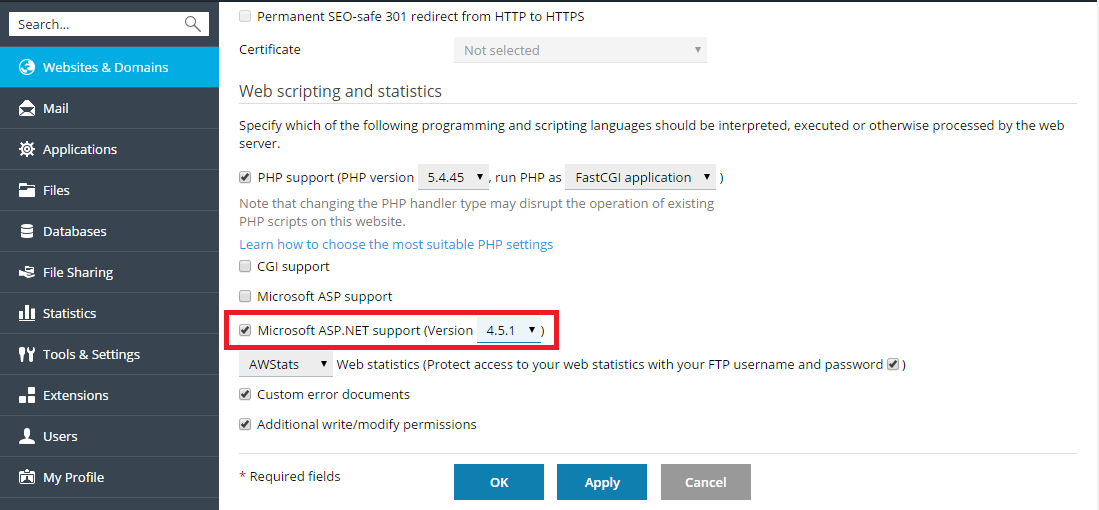
To change the ASP.NET version, go to Websites & Domains tab > Hosting Settings and select the required version in the Version menu near the Microsoft ASP.NET support checkbox.
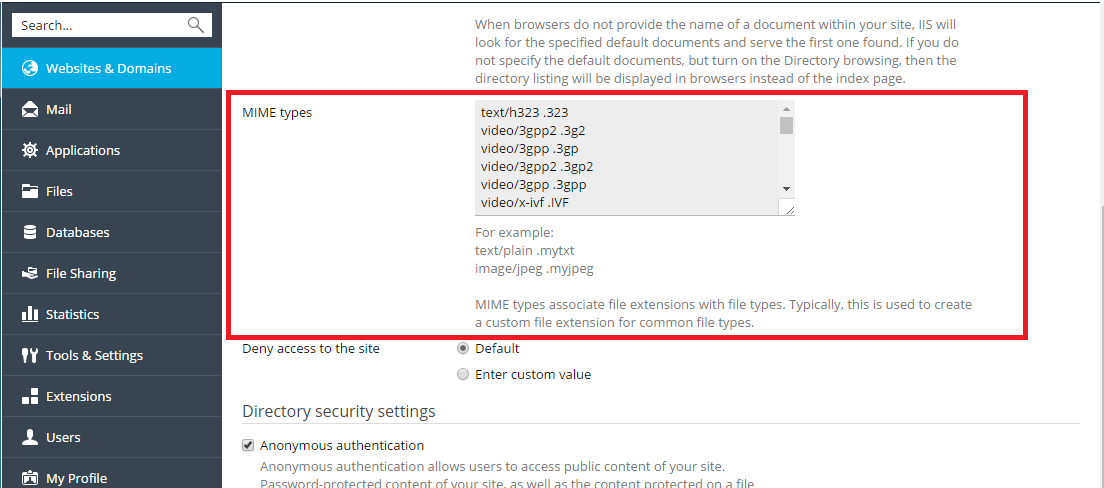
Multipurpose Internet Mail Exchange (MIME) types instruct a web browser or a mail application how to handle files received from the server. For example, when a web browser requests an item on a server, it also requests the MIME type of the object. Some MIME types, such as graphics, can be displayed inside the browser. Others, such as word processing documents, require an external application to be displayed.
By setting custom MIME types you can determine what applications are used to open a particular type of file on the client side.
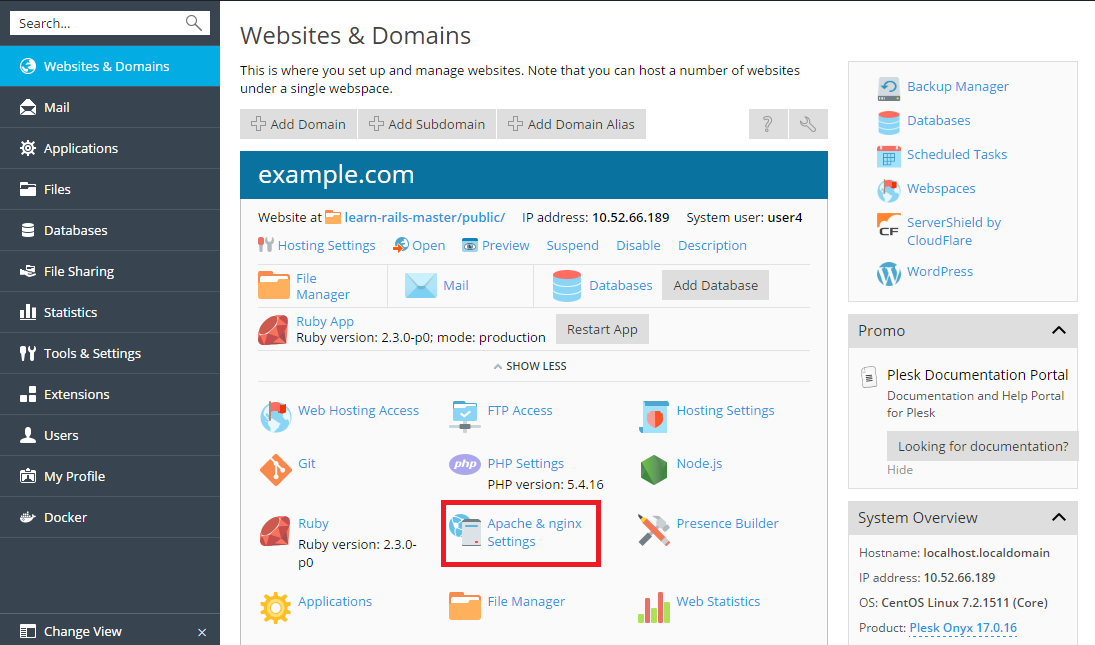
To configure MIME types in Plesk for Linux, go to Websites & Domains > Apache & Nginx Settings.

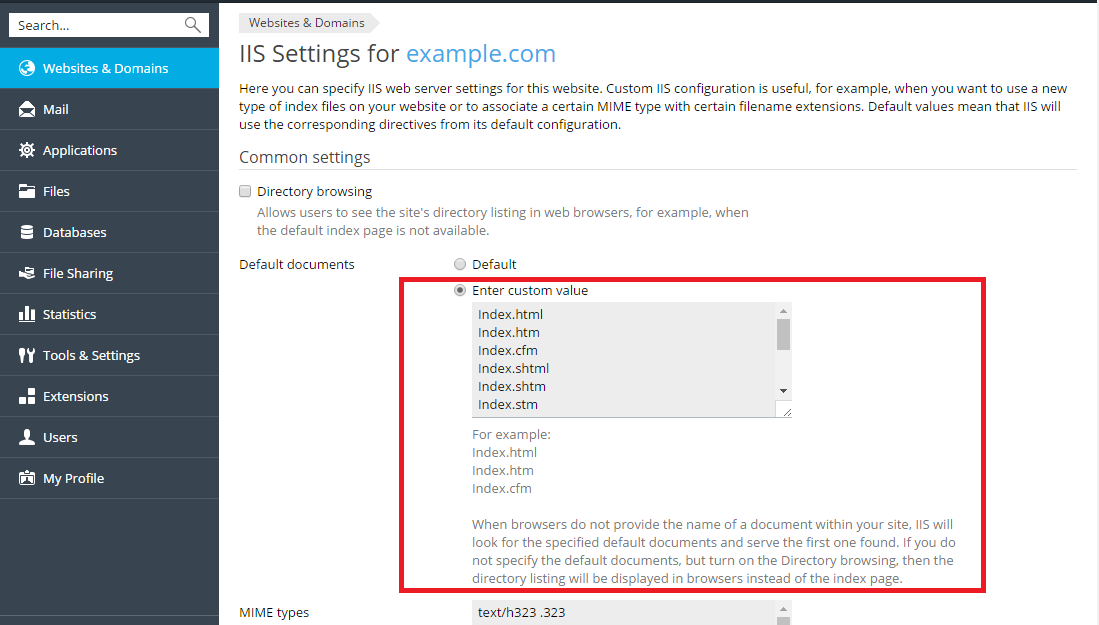
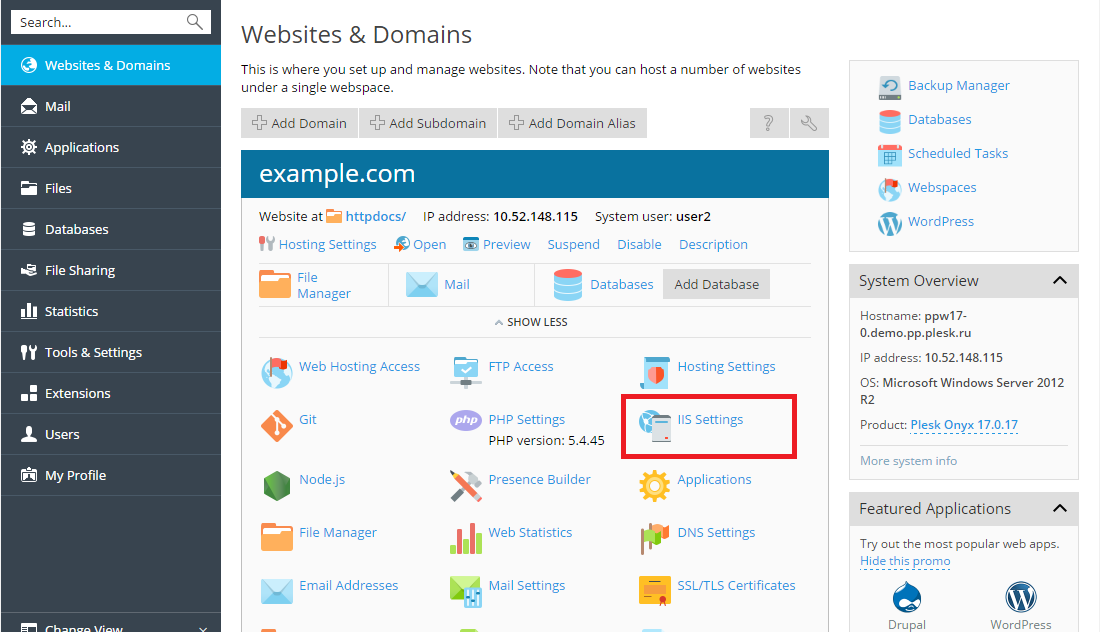
To configure MIME types in Plesk for Windows, go to Websites & Domains > IIS Settings.
Then specify MIME types associating file extensions with file types. For example: "text/plain .mytxt".
Plesk provides two convenient ways to upload content for your domains:
To connect to the server using FTP, you need the following information:
You will also require a program called an FTP client. There are many free FTP clients available on the Internet, such as FileZilla or FireFTP. Download and install the client on your computer to connect to the FTP server. Please refer to the FTP client's instructions for information on how to install and configure it.
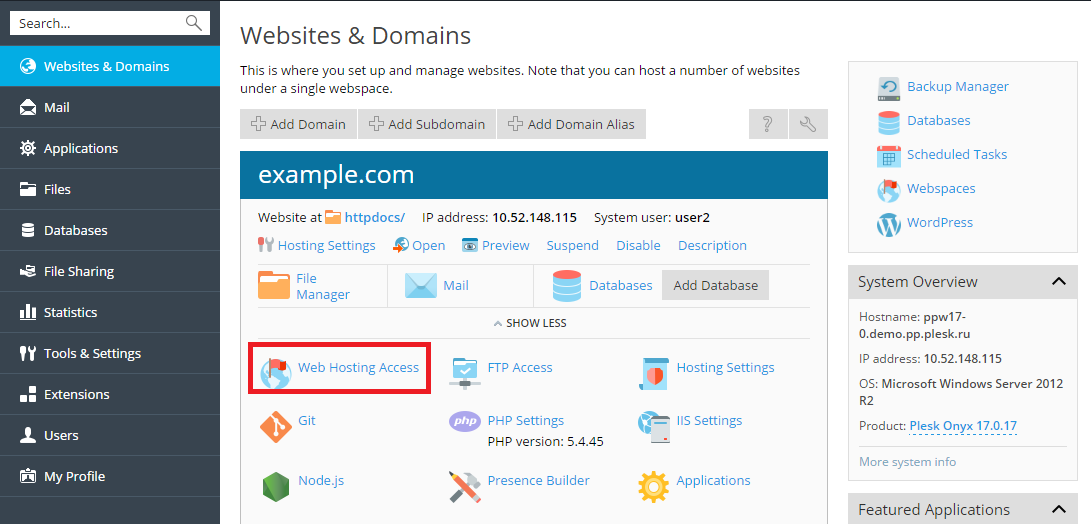
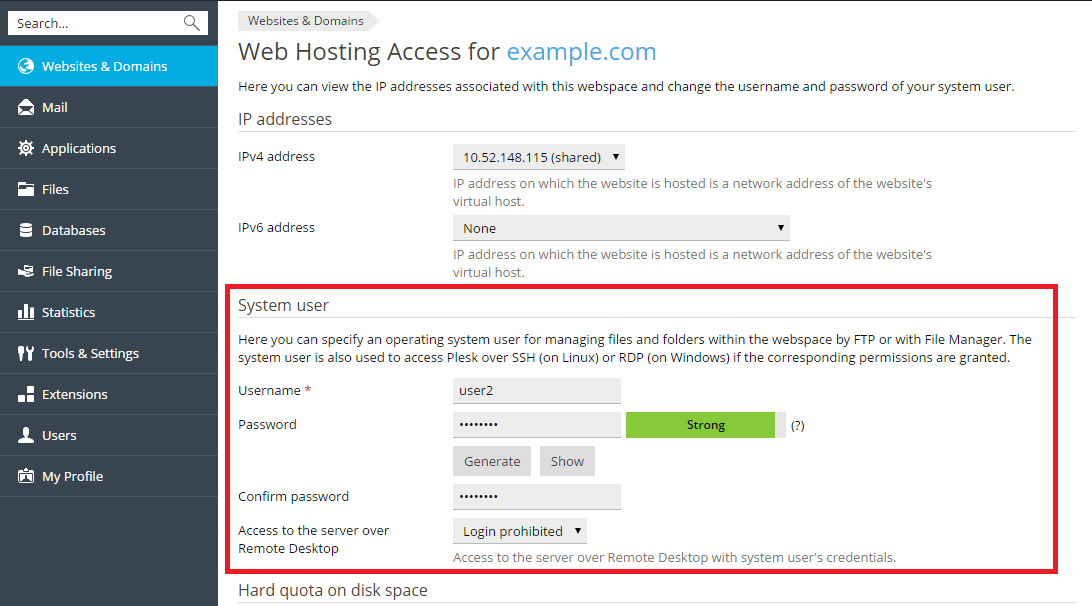
To change the FTP account username or password, go to Websites & Domains > Web Hosting Access.
Then specify new username and password for the System User.
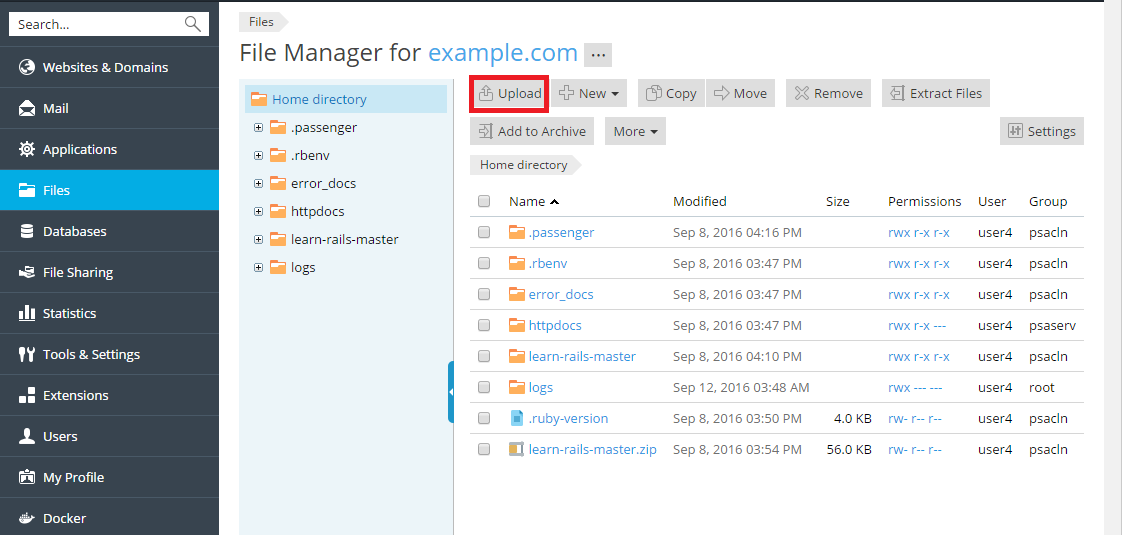
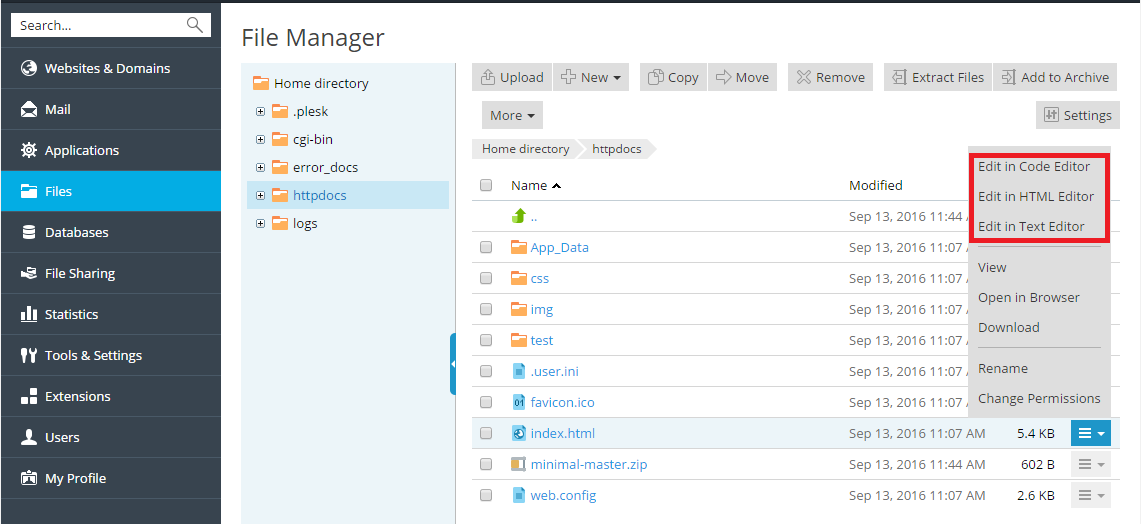
To upload content, go to Files, navigate to the folder to which you want to upload content, click Upload, select the file to be uploaded, and click Open.
Note that when uploading multiple files it is recommended to add them to an archive, upload the archive, and extract the files to save time. Only ZIP archive files are supported at the present time.
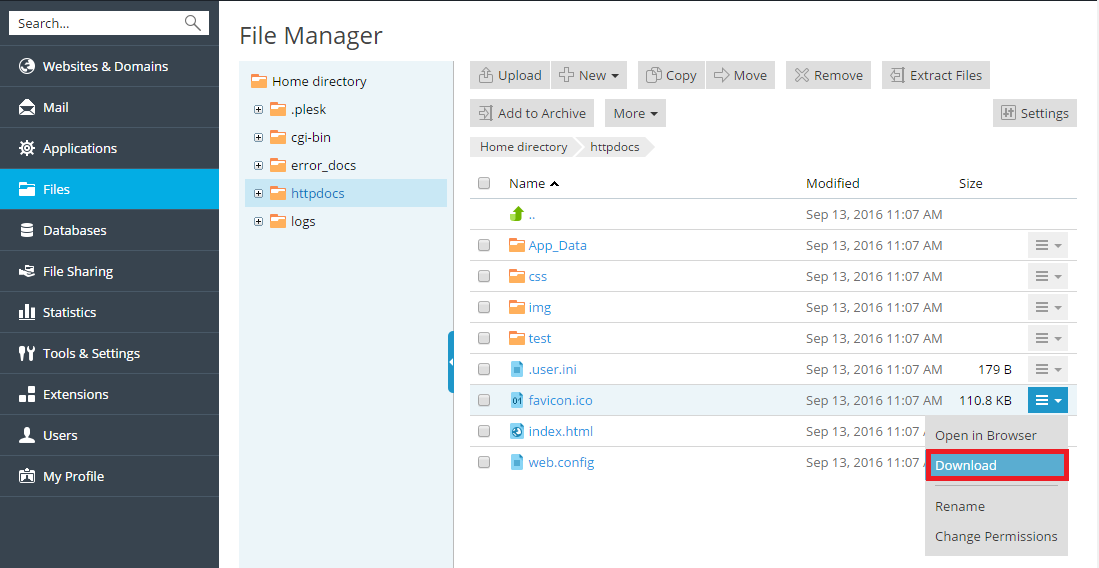
To download a file, go to Files, navigate to the location of the file you want to download, click the ![]() icon next to the file you want to download, and select Download from the menu.
icon next to the file you want to download, and select Download from the menu.
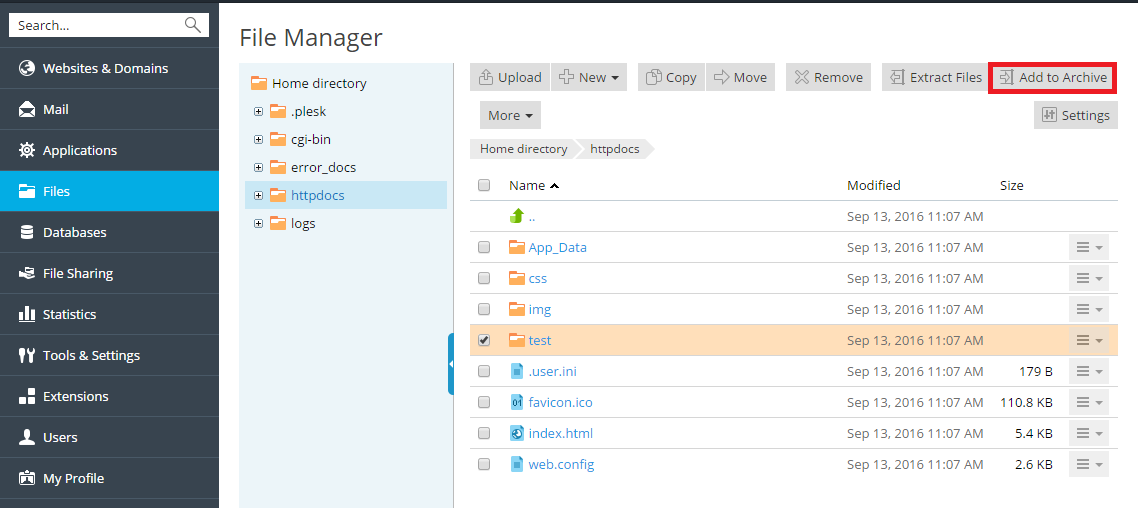
To compress files, go to Files, navigate to the location of the file or folder you want to compress, select the checkbox next to it, and click Add to Archive.
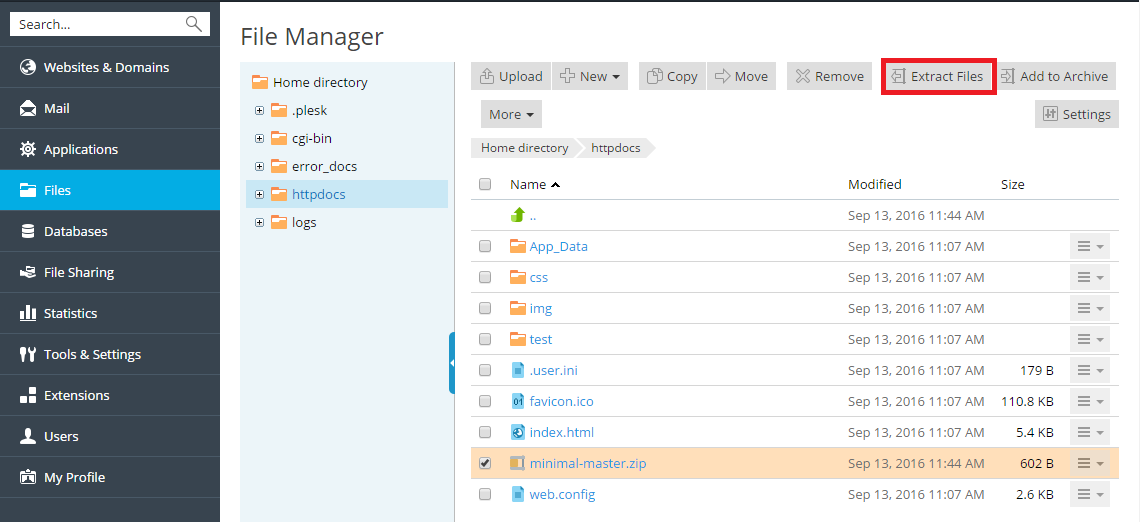
To extract files from an archive, go to Files, select the checkbox next to the file you want to extract, and click Extract Files.
To edit files, go to Files, navigate to the location of the file you want to edit, and do either of the following:
Mail service enables Internet users to send email messages to each other. Plesk can function as your mail server. It also enables you to create mail accounts and manage them, including performing a number of common mail-related operations. Such operations include changing the password for a mail account, enabling automatic replies, and so on.
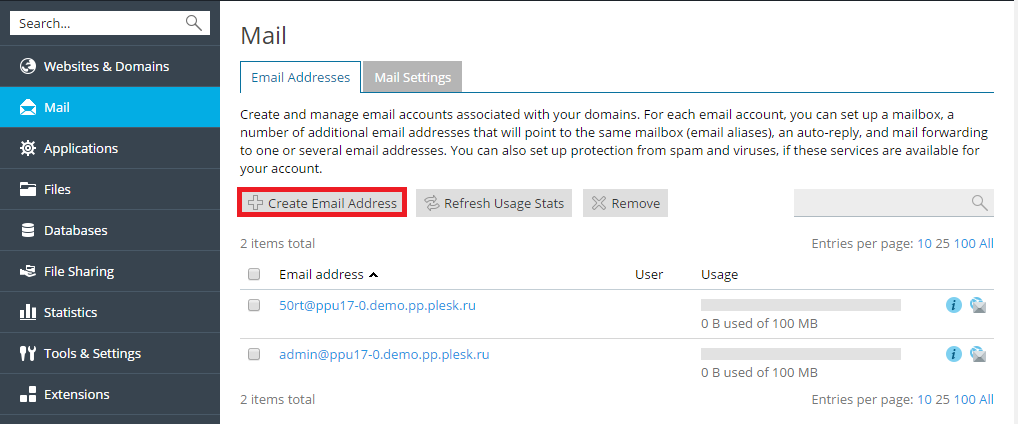
To create a mail account:
Go to Mail > Create Email Address.
To access your mail account using webmail:
webmail.example.com, where example.com is the Internet address of your website. When prompted, specify your full email address as the username (for example, mail@example.com), and specify the email address password.Note: If you cannot open the webmail page, make sure that a webmail solution is enabled. Go to Mail > Mail Settings, click the name of the domain for which webmail is inaccessible, and select a webmail client in the Webmail menu.
To access your mail account using a mail client:
Install a mail client program on your computer and start it. Typically, in such programs you should specify the following settings:
For detailed instructions on configuring your mail client, refer to your mail client documentation.
Note: If you cannot access your mailbox following the instructions in this section, this might be caused by mail server settings. For example, mail services may be listening on non-standard ports, or access to them may be blocked. Contact your hosting provider to resolve the issue.
A domain name is a human-readable Internet address of a website that can be used to reach the website. The translation of human-readable names into machine-readable ones is carried out by the Domain Name System, or DNS for short. It is very important for the DNS settings for your websites to be correct, otherwise the operation of your services may be disrupted. For example, your domain may become unavailable, or mail may fail to reach your mail server. Plesk can function as the primary (master) or a secondary (slave) name server for your domains. DNS settings are configured automatically, but can be changed from the interface. If the DNS service for your domains is provided by third-party name servers, you can disable the DNS service in Plesk.
Note: This section is meant for advanced users. Configuring DNS settings incorrectly can negatively affect website and mail accessibility.
For each new domain name, Plesk automatically creates a DNS zone in accordance with the settings configured by your service provider. The domain names should work fine with the automatic configuration. However, if you use Plesk NS server and need to perform custom modifications in the domain name zone, you can do that in your control panel.
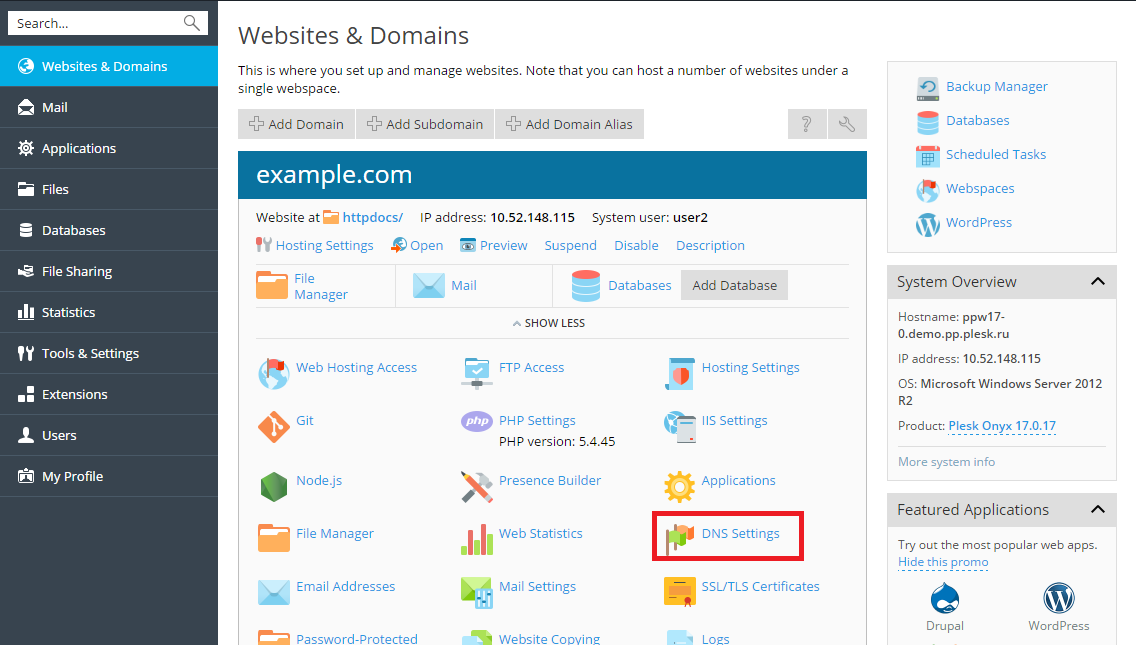
To view the resource records in a DNS zone of a domain, go to Websites & Domains > DNS Settings.
To add a resource record to the zone, go to Websites & Domains > DNS Settings > Add Record.

To modify the properties of a resource record, go to Websites & Domains > DNS Settings and click on the record.
In addition to the resource records described above, there is also a Start of Authority record. This record indicates that this DNS name server is responsible for the domain's DNS zone. It also contains settings that affect propagation of information about the DNS zone in the Domain Name System.
If you host websites on your account and do not want to use Plesk as your primary (master) NS server, you have the following options:
To switch the Plesk DNS server to a secondary name server, go to Websites & Domains > DNS Settings and click Master/Slave.
To revert the Plesk DNS server to the primary name server, go to Websites & Domains > DNS Settings and click Master/Slave.
To switch off Plesk's DNS service for a site served by external name servers, go to Websites & Domains > DNS Settings and click Disable.
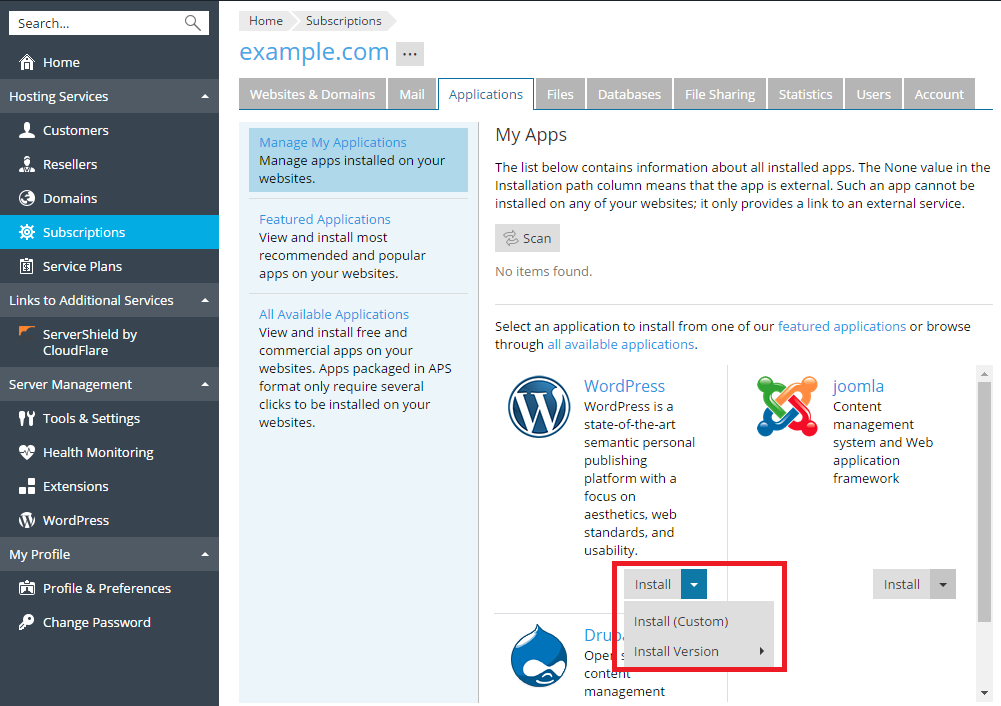
Web applications are software products designed to be installed on websites to add functionality and improve user experience. A wide range of applications covering many different user scenarios are available from the Plesk Application vault, and can be installed from the Plesk interface with a minimum of effort.
To install an application, go to Applications > Install or Install (Custom) or Install Version.
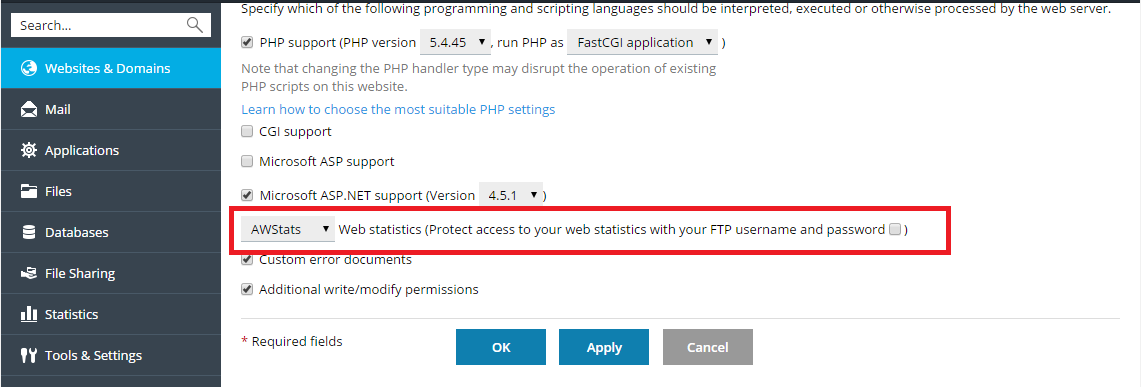
To enable web statistics or change the web statistics application, go to Websites & Domains > Hosting Settings and at the Web Statistics menu select the web statistics software that you want to use for viewing graphical reports and charts on website visitors.
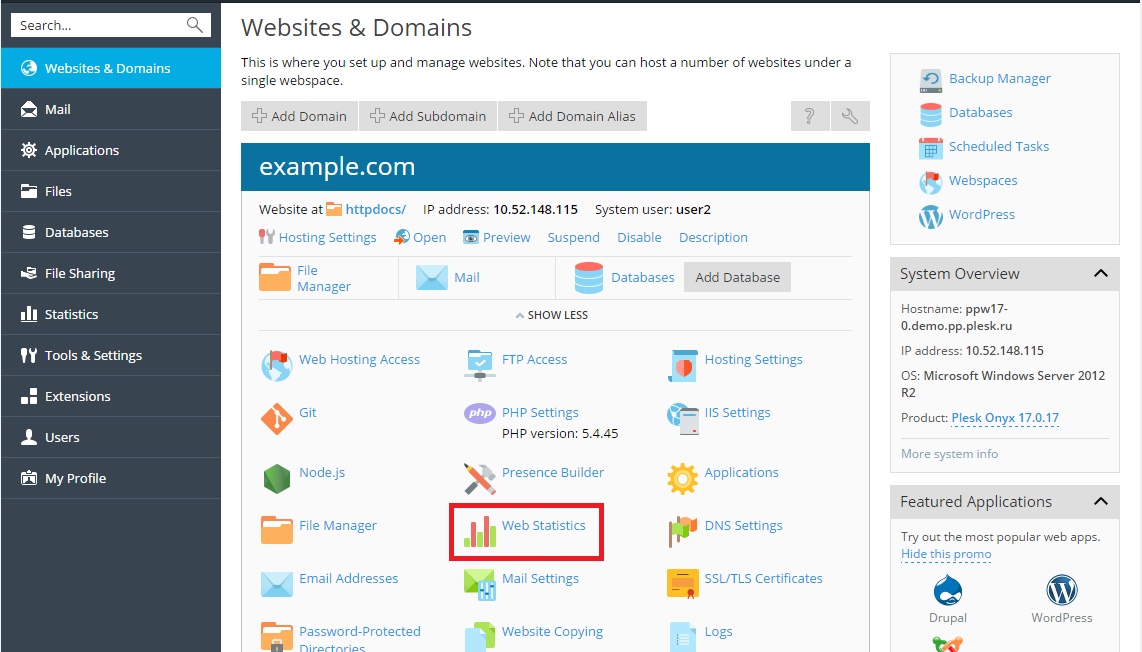
To view the web statistics, go to Websites & Domains > Web Statistics.
Note: If you do not see any web statistics after following the instructions above, this most likely indicates that they have not yet been generated for the domain in question. Most likely the domain has been created recently, or web statistics have just been enabled. Try following the instructions again after 24 hours. If no web statistics are displayed, contact your provider.
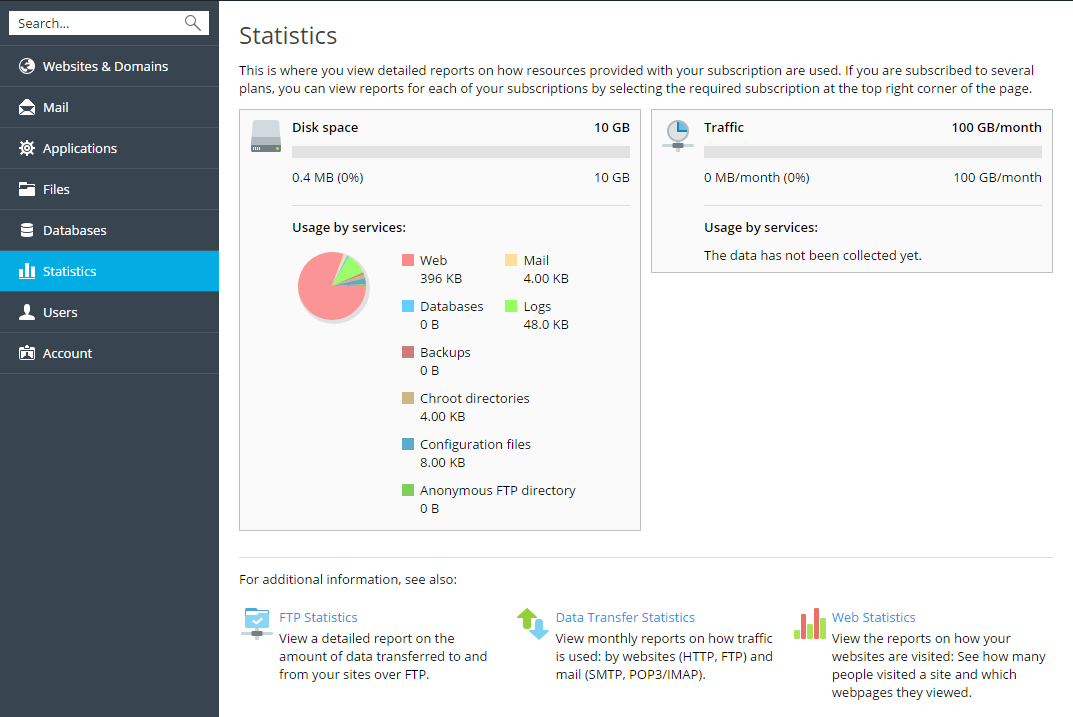
To view the disk and traffic usage report, go to Statistics.
It is always recommended to keep backup copies of your website content to safeguard against accidents and malicious attacks. Plesk facilitates the creation of backup copies with the backup and restoration functionality. It enables you to create backups of both configuration and content, including website content, mail accounts, databases and more, and restore the data should the need arise. You can also download backup files created in Plesk, as well as upload backup files, even those created in earlier Plesk versions. Created backups can be stored either locally or in a remote FTP storage.
To back up all data related to your account and all your subscriptions, go to Account > Back Up My Account and Websites.
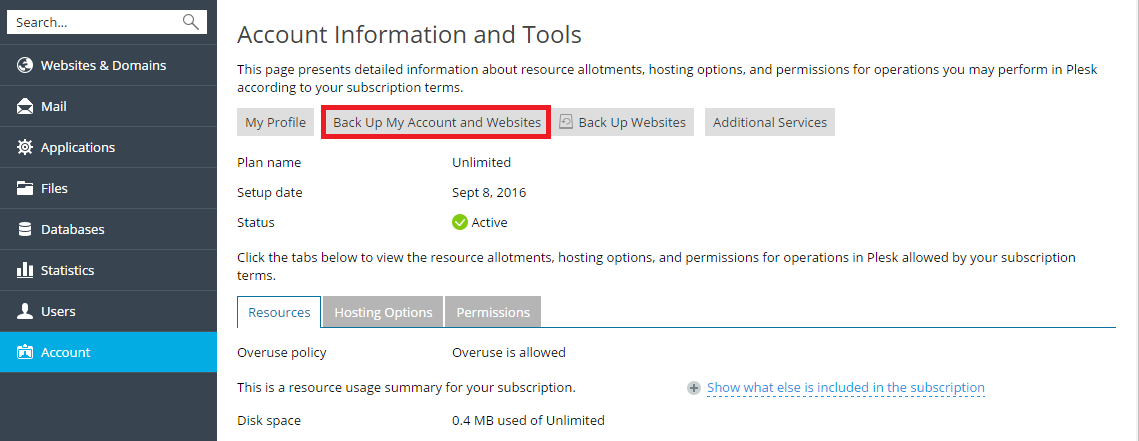
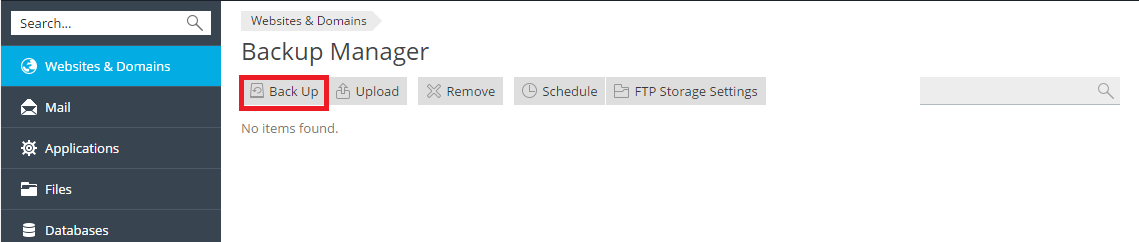
To back up the websites related to currectly selected subscription, go to Account > Back Up Websites.
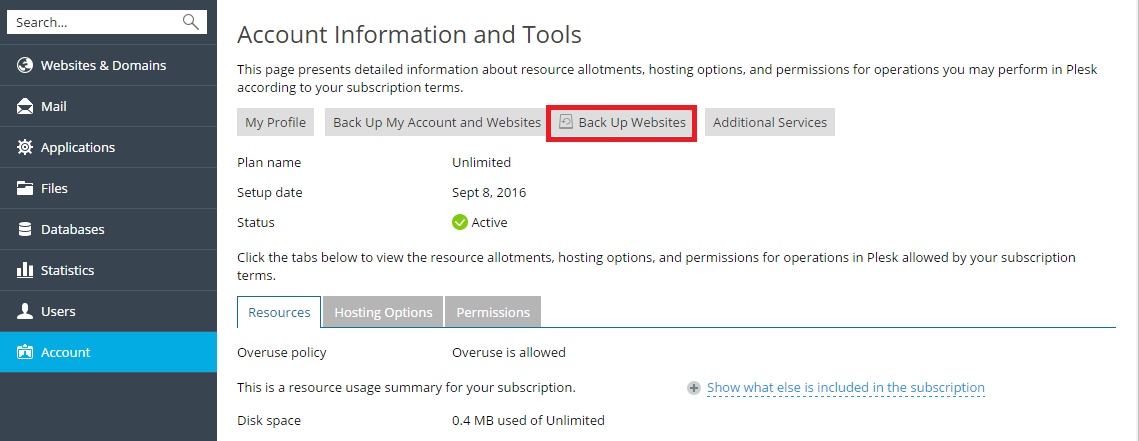
Then click Back Up to create a new backup.
You can restore backups made in Plesk Onyx or earlier versions of Plesk, but no earlier than Plesk 8.6. The following restoration scenarios are available:
example.com domain that includes domain content, the domain content of the example.com domain already present on the server will be overwritten by the data contained in the backup file.example.com, there is no need to restore configurations of all other domains.To restore a backup file, go to Account > Back Up Websites or Websites & Domains > Backup Manager. Then click on the required backup, specify what should be restored and click Restore.
