Certain aspects of the behavior of both Plesk and various Plesk extensions cannot be managed via the GUI, XML API, or the command line. Instead, they are governed by entries in the panel.ini configuration file. For example, by editing this file, you can:
The panel.ini file can be found here:
/usr/local/psa/admin/conf/panel.ini%plesk_dir%\admin\conf\panel.iniIf the file is missing on your server, create an empty file at the specified location and name it panel.ini. You can also rename the panel.ini.sample file found in the same directory to panel.ini. This way, the file will contain a number of pre-configured settings you can use for reference.
To configure settings via the panel.ini file, you need to edit it in either of the two ways:
panel.ini file using a text editor.panel.ini file in the Plesk GUI.Regardless of the option you choose, to configure one or more settings via the panel.ini file, you need to add entries to it according to the following pattern:
[Section name]
Setting name = Value
Note: If a setting accepts a boolean ('yes' or 'no') value, you can use either 'true', 'on', or 'yes' to enable it, and 'false', 'off', 'no', or 'none' to disable it.
Changes take effect immediately after saving the file. There is no need to restart any services.
For example, to disable IP Address Banning (Fail2Ban), add the following lines to the panel.ini file:
[fail2ban]
enabled = false
As a result, IP Address Banning (Fail2Ban) disappears from the Security group on the Tools & Settings screen, and you can no longer manage it via CLI commands.
Every setting that can be configured via the panel.ini file belongs to a pre-defined section. To customize a setting, you must place it in the panel.ini file within the section to which it belongs. Do not include any individual section more than once. If you want to customize multiple settings belonging to a single section, include it once and place all settings you want to customize within it.
For example, to customize the URL for the application catalog and to enable application catalog customization, add the following lines to the panel.ini file:
[aps]
catalogUrl = "http://catalog.pp.plesk.ru"
catalogsCustomization = on
To configure settings via the Panel.ini Editor extension, go to Extensions > My Extensions > Panel.ini Editor > Go To Extension.
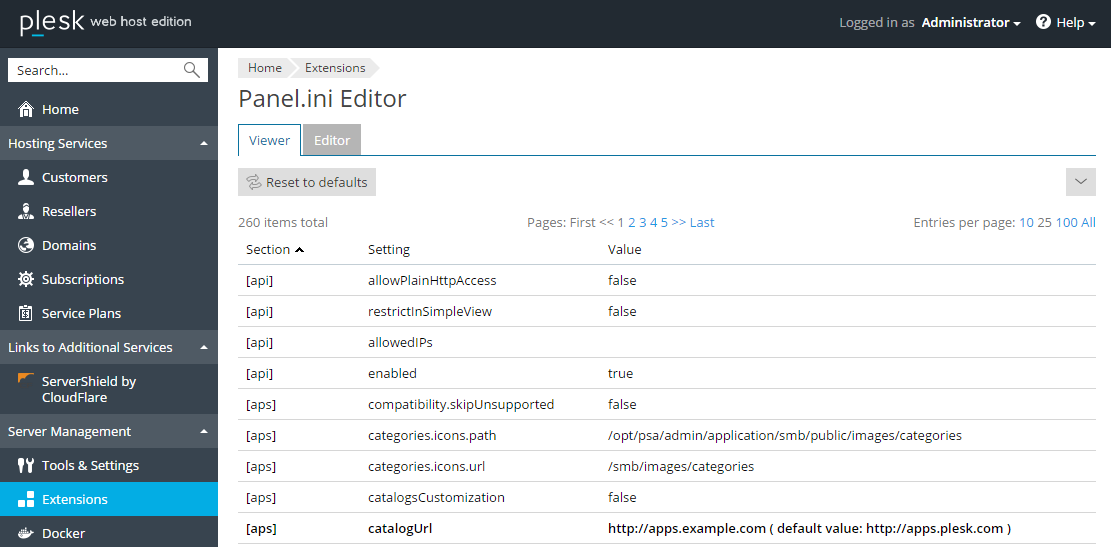
Here, on the "Viewer" tab, you can see the complete list of all settings that can be managed via the panel.ini file, broken down by section. The "Setting" column displays the machine-readable parameter name, and the "Value" column displays its currently assigned value.
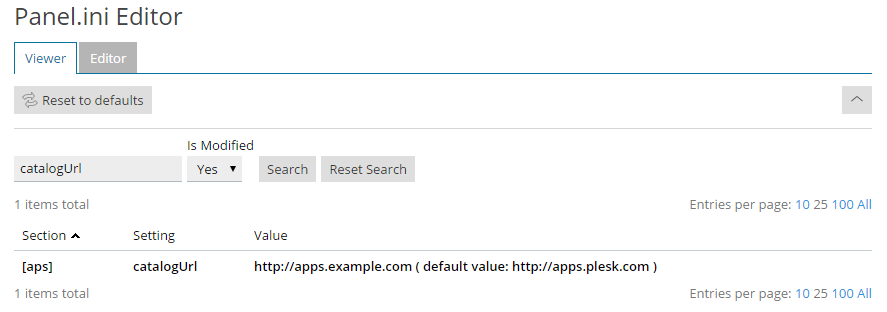
Parameters that have been added to the panel.ini file are shown in bold. For parameters whose value has been customized, the default value is displayed in parentheses next to the currently assigned one. For example, on the screenshot above, the parameter "catalogUrl" has been assigned the value "http://apps.example.com" instead of the default one ("http://apps.plesk.com").
To search for a specific parameter, click the ![]() button to open the search menu.
button to open the search menu.
To edit the panel.ini file, go to the "Editor" tab and add entries to it, as described above.
To restore a setting customized via the panel.ini file to its default value, open the file for editing and either remove the corresponding line or comment it out by adding the ';' character at the beginning of the line, like this:
[fail2ban]
; enabled = false
The setting reverts to the default value immediately after saving the file.
To restore all settings customized via the panel.ini file to their default values, do one of the following:
panel.ini file.Here are some customization user scenarios that can be implemented via the panel.ini file. Note that the list is not exhaustive. The behavior of certain Plesk extensions can be customized via the panel.ini file - refer to the extensions' documentation for details.