Dutchwebhosting biedt alle Plesk 12 handleidingen die online staan in twee verschillende formaten aan. De video versie vindt u hieronder als eerste terug. Daaronder vindt u de tekst versie met screenshots en uitleg. Wanneer de video versie niet scherp genoeg is, dan kunt u op de knop 'maximaliseren' klikken (rechts onderaan).
Handleiding 'DNS instellingen beheren en aanpassen in Plesk 12' in videoformaat
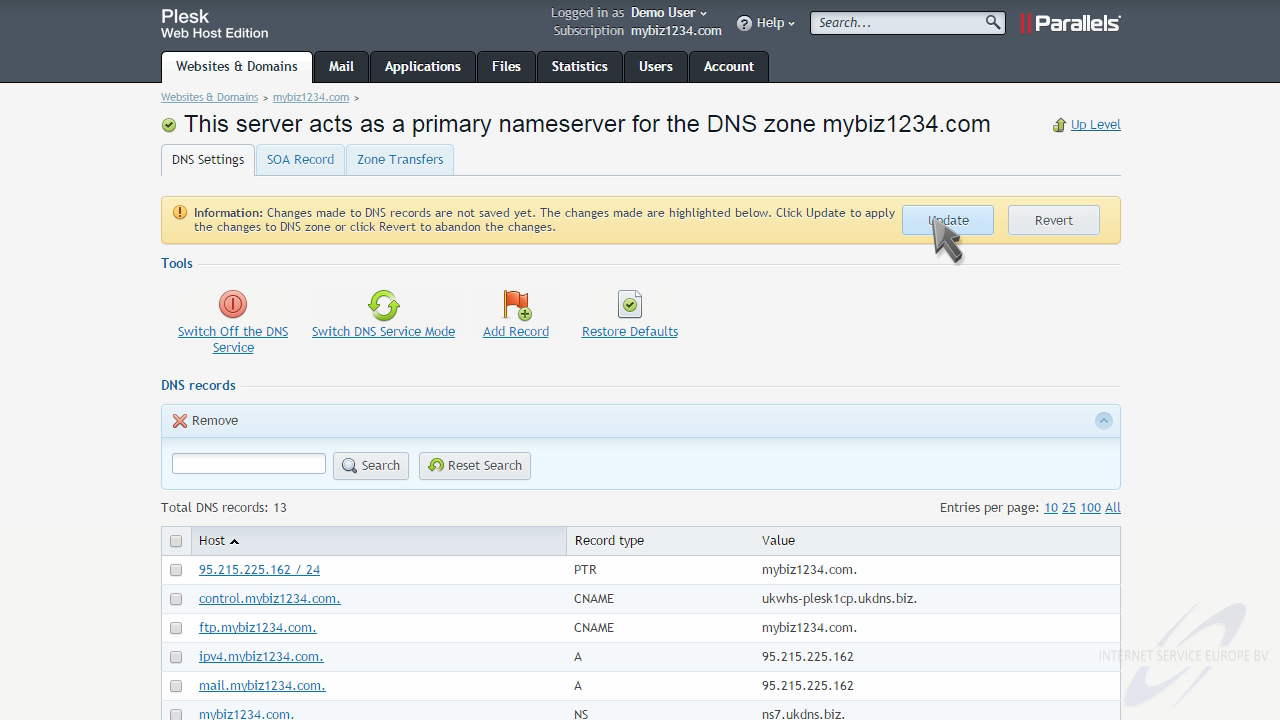
Handleiding 'DNS instellingen beheren en aanpassen in Plesk 12' als tekstversie met screenshots
This demo assumes you've already logged in to Plesk.
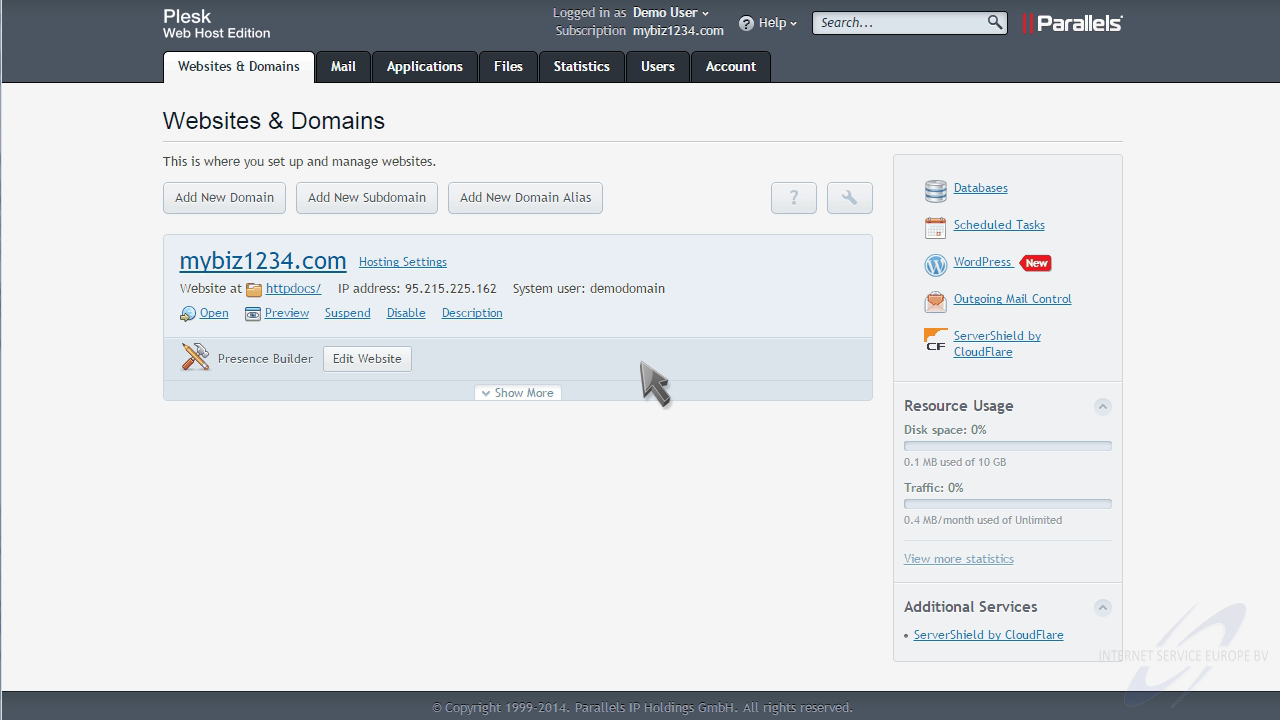
Now let's learn how to manage DNS zones.
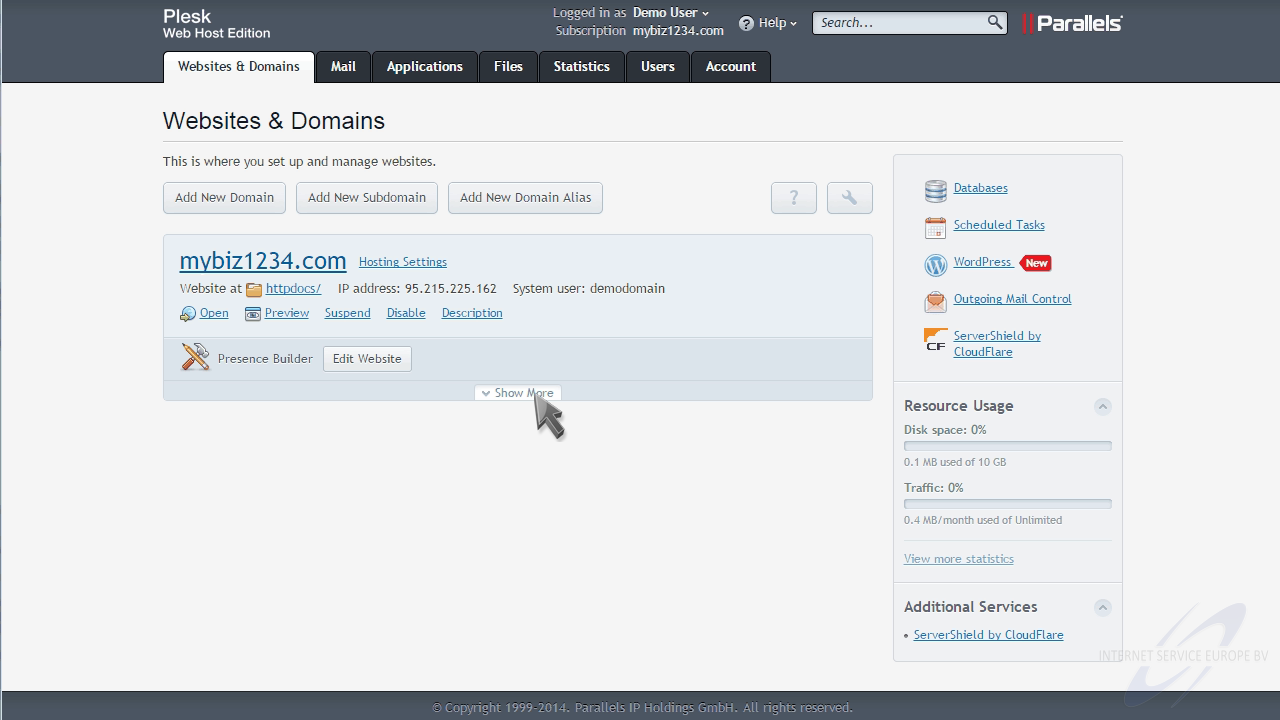
Click "Show More" to expand the list of options for this domain.
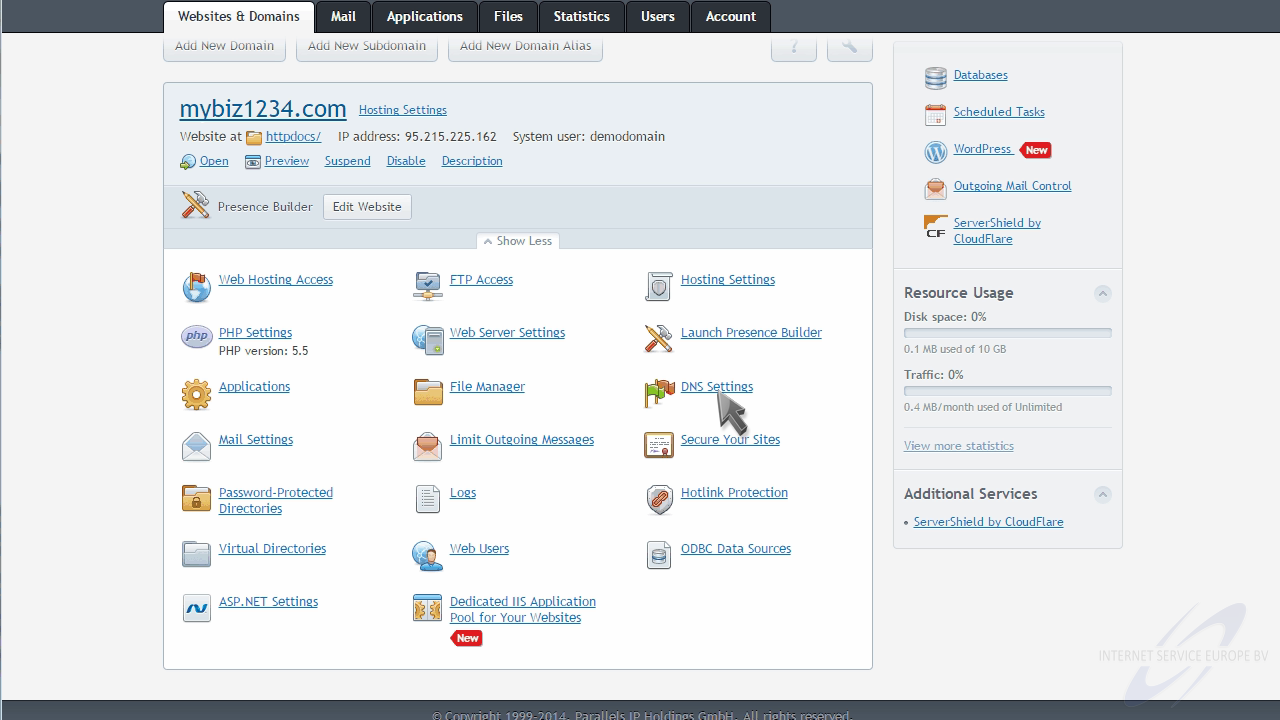
Then click the "DNS Settings" option.
From here you can switch off the DNS service...

Switch DNS service mode, which will make the Plesk DNS server act as a slave for this zone, and use an external DNS zone instead...

Add a DNS zone record...
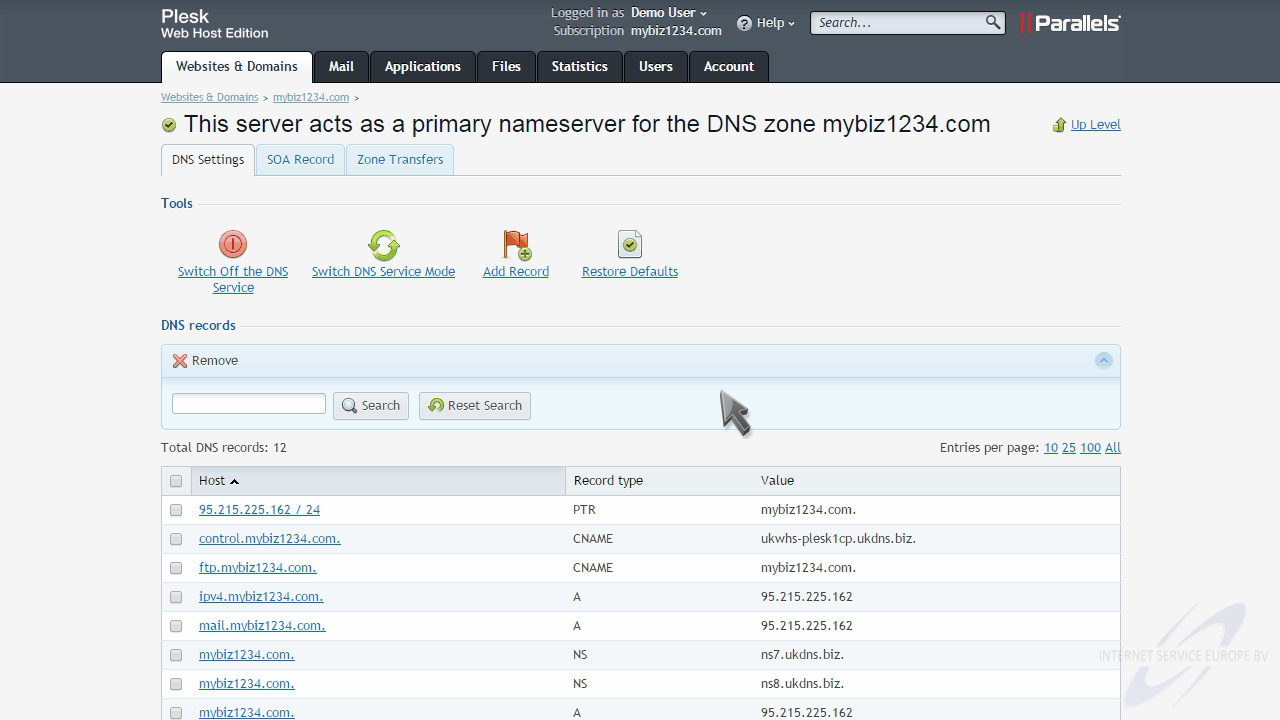
... or restore teh default settings.
Let's go ahead and add a new record.
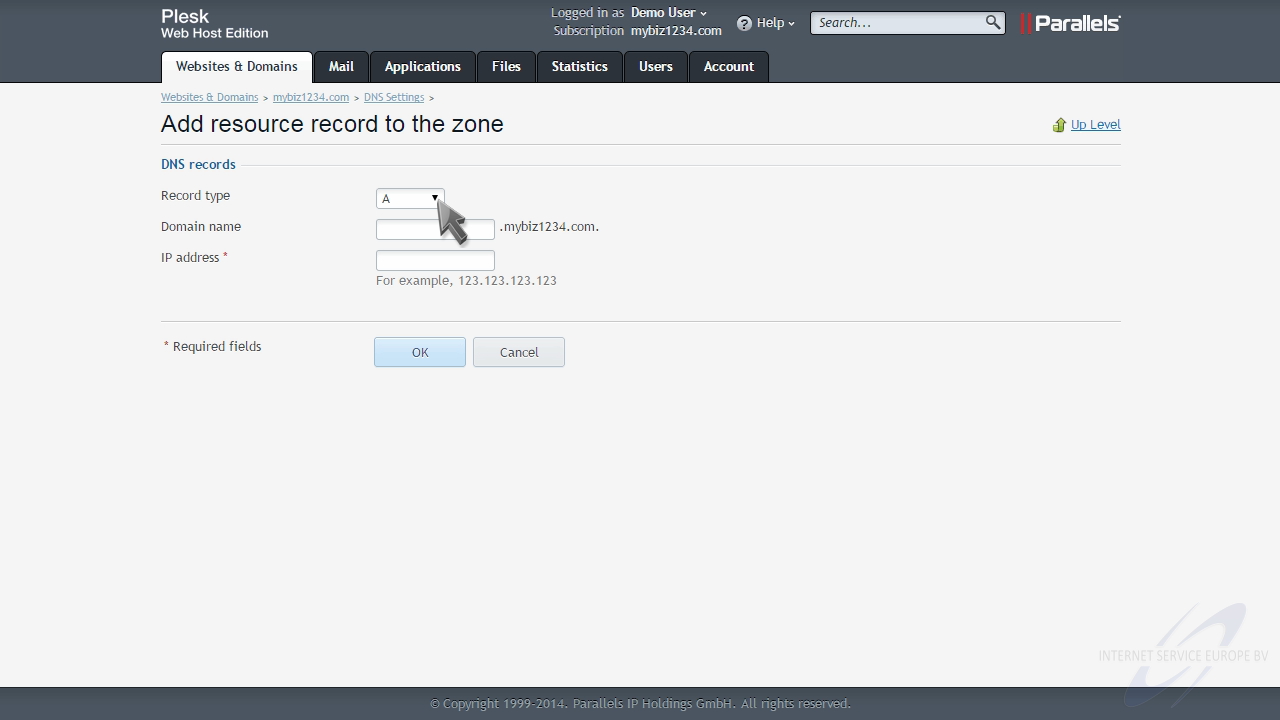
Let's add an "A" record, which lets us point a subdomain to an IP address.
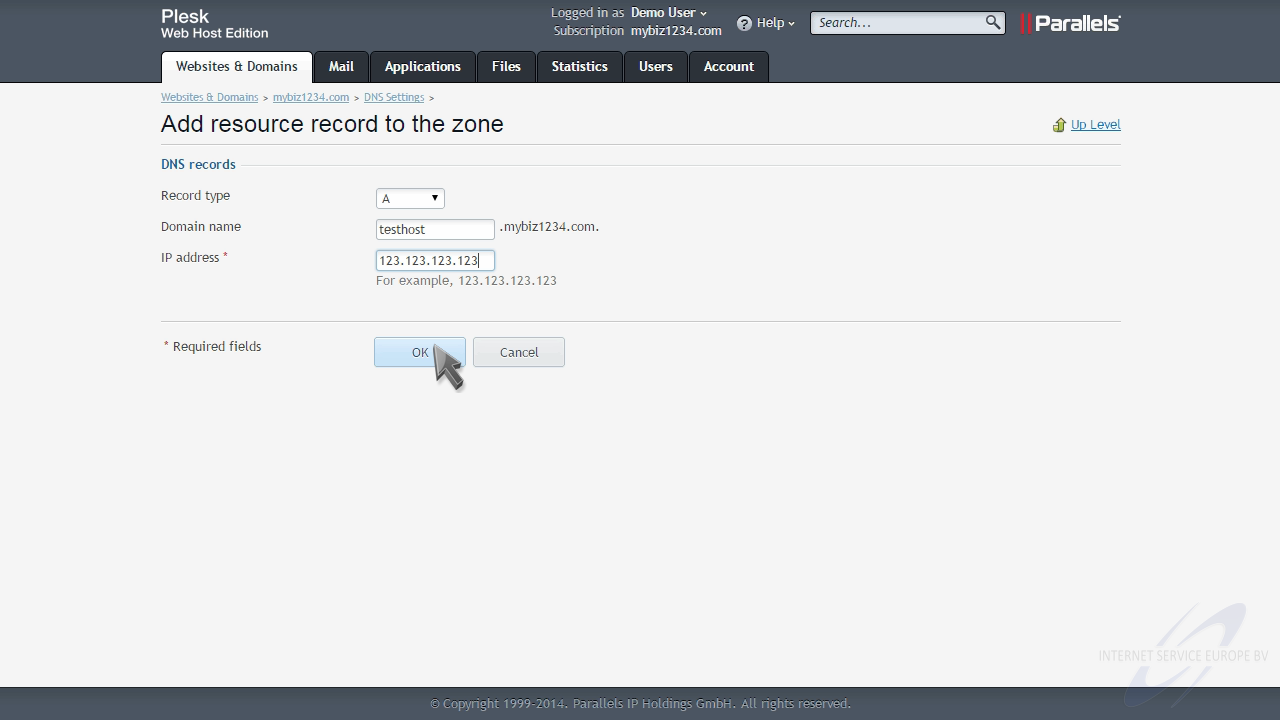
The DNS record has been created, but you still have to click "Update" for the changes to go live.

That's it! You can now see the new record we just added, here in the list of DNS records.
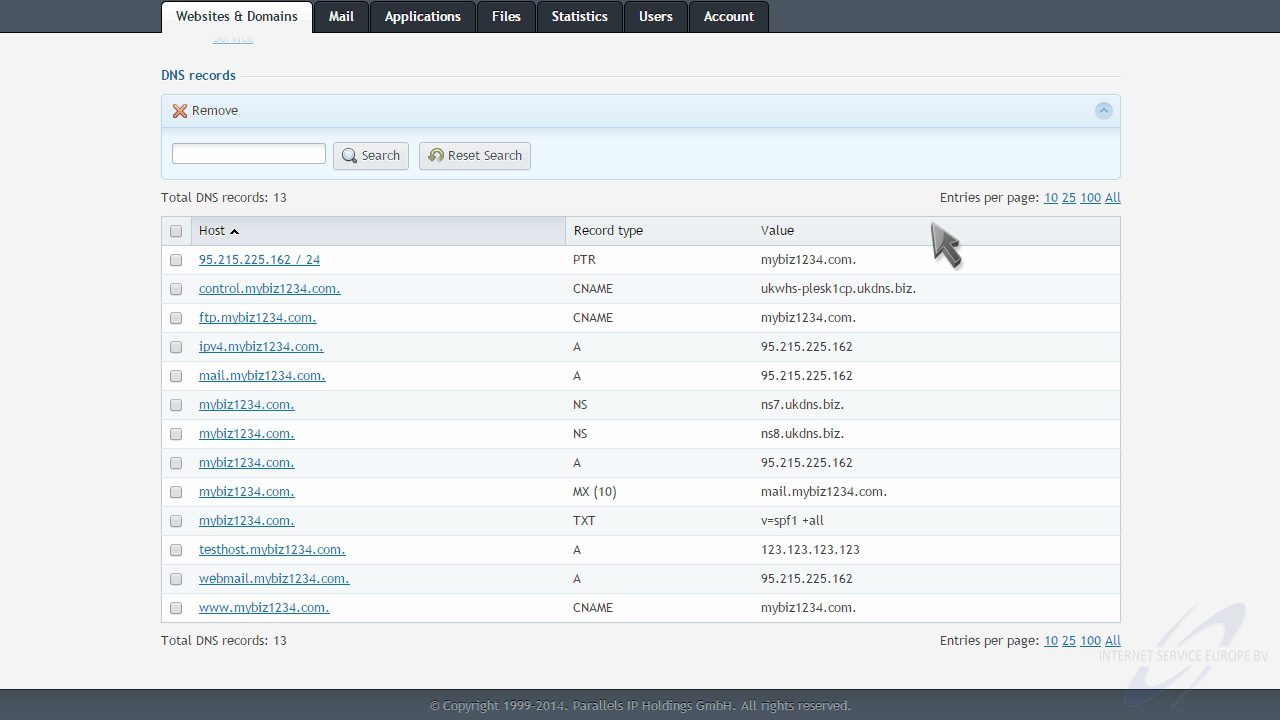
To remove a DNS record, simply select it, then click "Remove".

Click to confirm the removal, then click "OK".
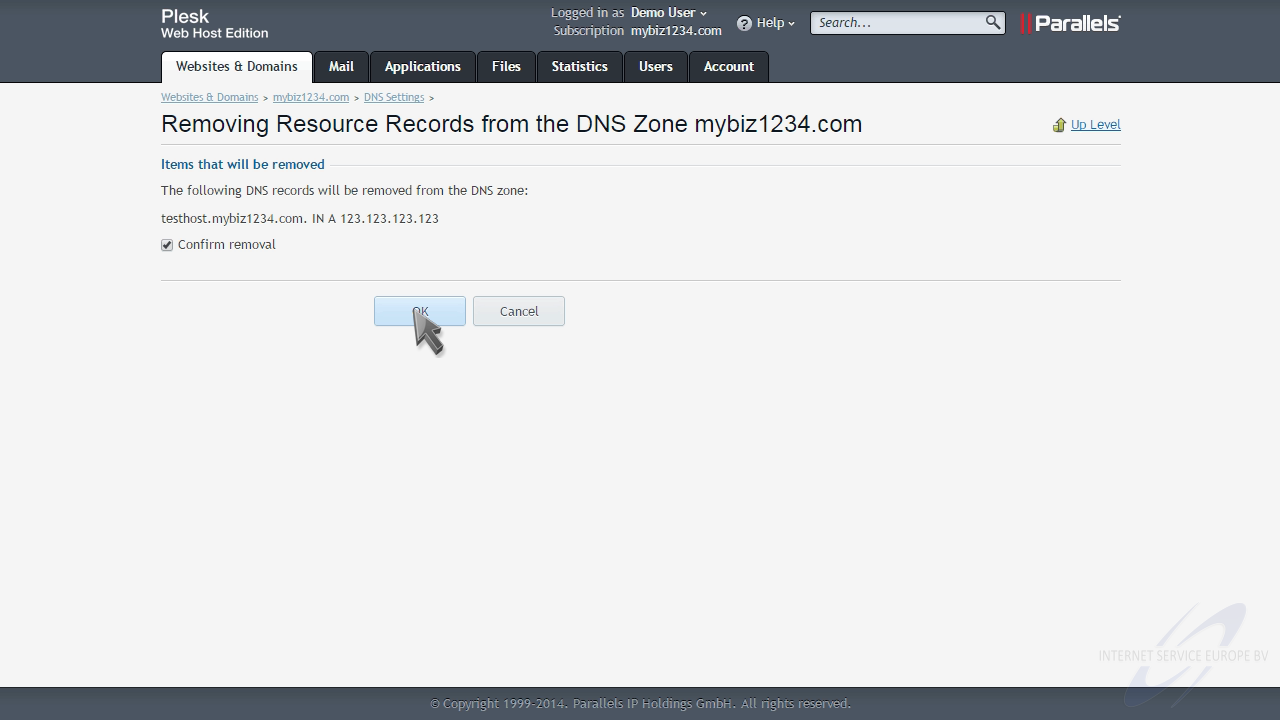
Once again, click "Update" to make the changes live.
This is the end of the tutorial. You now know how to manage DNS zones in Plesk.
Voor het Plesk controle paneel hebben wij een groot aantal handleidingen online staan waarin standaard zaken, zoals het aanmaken van een emailaccount of het gebruik van webmail duidelijk wordt uitgelegd. Dutchwebhosting update deze handleidingen regelmatig.
 Plesk 9 handleiding voor gebruikers Plesk 9 handleiding voor gebruikers |
|
| Plesk 10 handleiding voor gebruikers |
|
| Plesk 11 handleiding voor gebruikers |
|
| Plesk 11 handleiding voor resellers |
|
| Plesk 12 handleiding voor gebruikers |