Uploading Backup Files to Server
To upload a backup file to the Plesk’s storage, go to Tools & Settings > Backup Manager and click Upload. Before starting the upload, Plesk will prompt you to specify the following backup parameters:
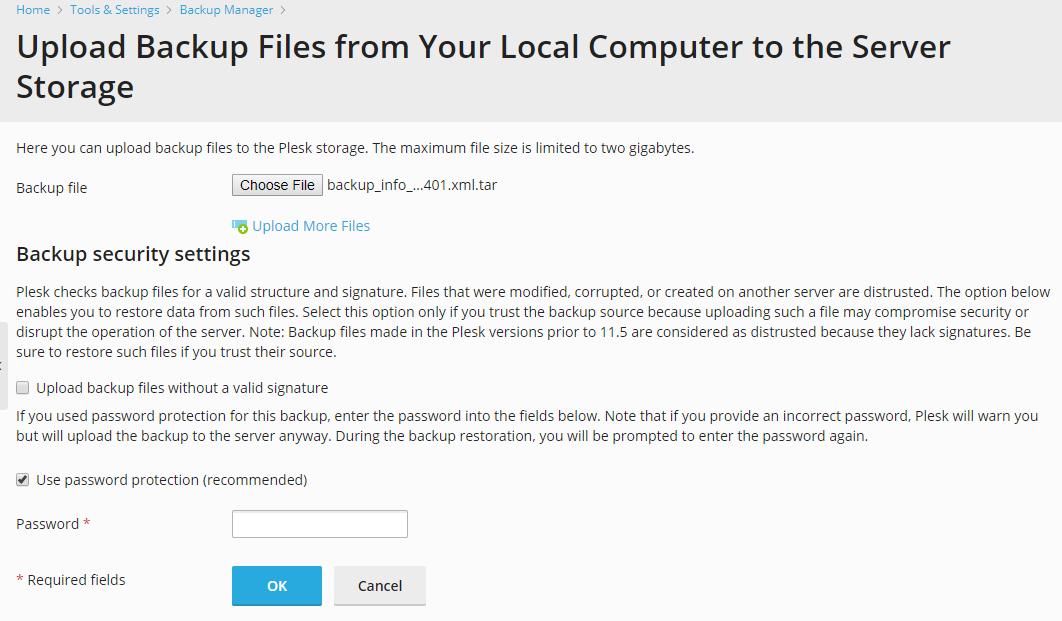
Backup file. Click Choose File to select a backup file you want to upload. By default, the maximum file size is limited to two gigabytes. If you need to upload a larger file, change the maximum upload file size in the Plesk settings (more information can be found at Advanced Administrator Guide (Windows) and Advanced Administrator Guide (Linux)).
Upload backup files without a valid signature. If this checkbox is cleared (by default), Plesk checks a backup file for a valid structure and signature and does not restore it if any of the following problems are found:
- The file is corrupted.
- The file was modified manually after downloading from the server.
- The file was created on another server.
Selecting this checkbox allows restoring data from such files. Select it only if you trust the backup source because uploading such a file may compromise security or disrupt the operation of the server.
Note
You can only restore backups made in Plesk Onyx 17.0 and later.
Use password protection. Select this checkbox if you used a password for protecting the backup file and are going to specify the password when uploading the file.
Password. Enter the password that you used for protecting the backup data.
Note
If you do not select the Use password protection option for a password-protected backup or provide an incorrect password, Plesk will upload the backup to the server anyway. During the backup restoration, you will be prompted to enter the password again.