File Sharing Settings
You can access file sharing settings in both Service Provider (Tools & Settings > File Sharing) and Power User view (Tools & Settings > File Sharing).
To set up file sharing in Plesk:
Open the file sharing settings page.
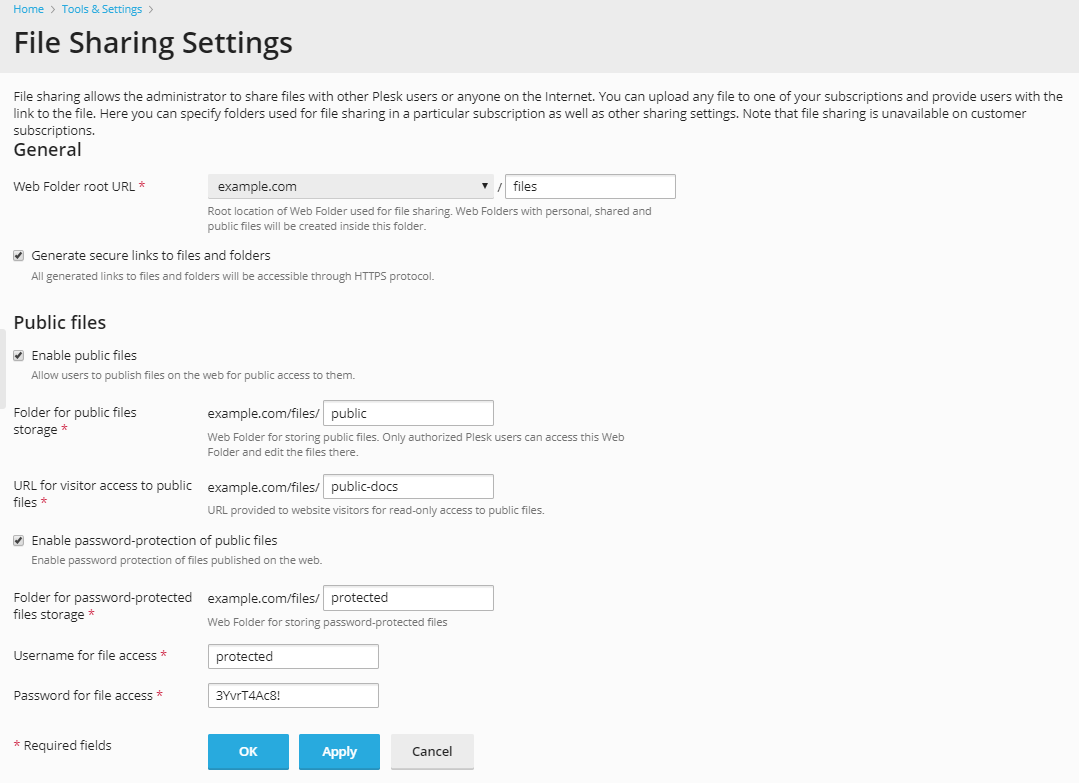
Web Folder root URL defines the URL for accessing the root Web Folder used by file sharing services. If you want to change the root location of the Web Folder used for file sharing, select the host name, domain name or IP address and specify a folder name.
All other file sharing Web Folders are created inside the folder specified above. The resulting URL will be used for mounting the root Web Folder used by file sharing.
If you want Plesk to generate secure links to protect file transfers with SSL/TLS encryption, select the Generate secure links to files and folders check box.
If you want to grant Plesk users the ability to publish uploaded files and make these files accessible to all website visitors, select the Enable public files check box.
- If you want to change the folder for storing the public files, specify a new folder name in the Folder for public files storage field.
- If you want to change the URL for read-only visitor access, specify a new folder name in the URL for visitor access to public files field.
If you want to allow uploading of files into a password-protected folder that can be accessed by privileged partners or customers, select the Enable password-protection of public files, and provide the username and password for accessing the folder.
- If you want to change the folder for storing the password-protected files, specify a new folder name in the Folder for password-protected files storage field.
Click OK.