Plesk in Restricted Mode
Restricted Mode (known before as Custom View) limits the number of tools available to the Plesk administrator in the Plesk interface. For example, enabling Restricted Mode with the default settings in Service Provider view hides the Extensions Catalog and many options in Tools & Settings.
If you mostly carry out basic administration tasks, you can declutter the Plesk interface and make it more convenient to use by hiding unused controls.
Enabling Restricted Mode
By default, some Plesk tools are available in Restricted Mode, while some are not. You can enable Restricted Mode with the default configuration or choose the tools available when Restricted Mode is enabled.
To enable Restricted Mode with the default configuration:
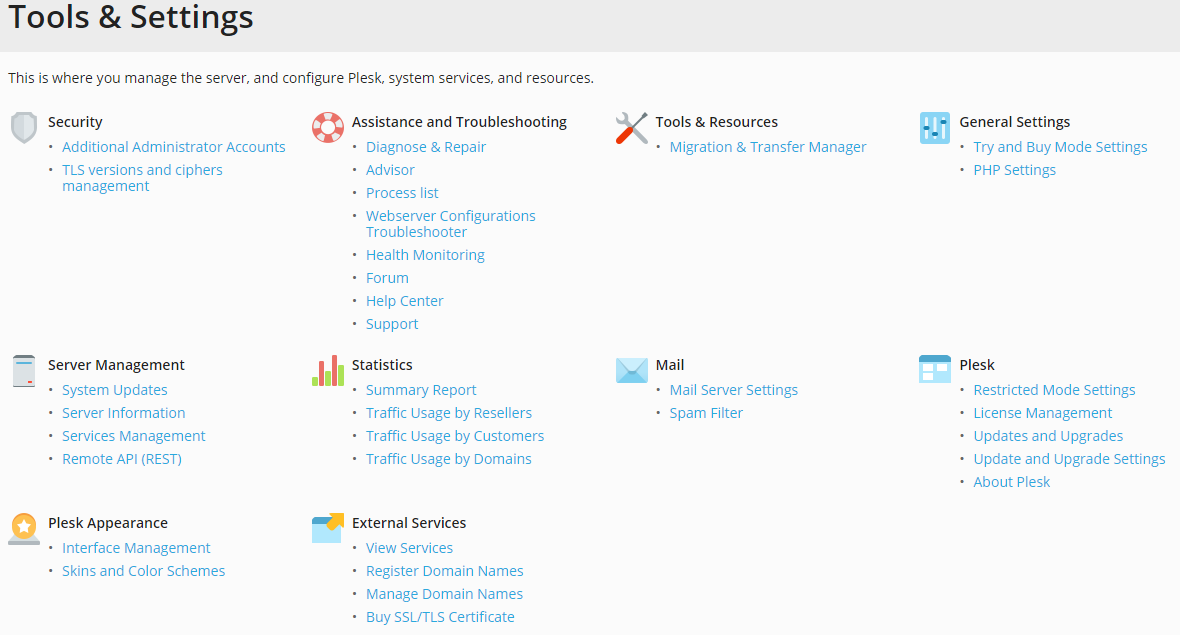
- Go to Tools & Settings > Interface Management (under “Plesk Appearance”).
- Select the “Enable Restricted Mode” checkbox and then click OK.
To enable Restricted Mode with the tools of your choice:
- Go to Tools & Settings > Restricted Mode Settings (under “Plesk”).
- Select or clear checkboxes to show or hide the corresponding tools in Restricted Mode.
- When finished, select the “Enable Restricted Mode” checkbox and then click OK.
You will now only see the tools you have selected in the Plesk interface. To see all tools, disable Restricted Mode by clearing the “Enable Restricted Mode” checkbox and then clicking OK.
Subscriptions in Restricted Mode
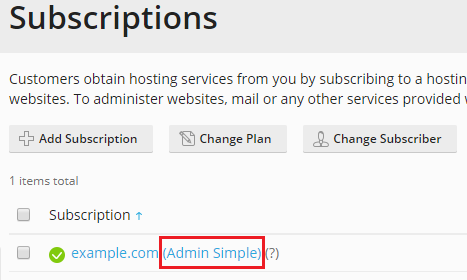
Subscriptions created in Power User view when Restricted Mode is enabled inherit the settings (hosting parameters, PHP settings, and others) specified in Tools & Settings > Restricted Mode Settings. These settings compose the “Admin Simple” service plan, which is not displayed in the list of service plans.
When you change settings in Tools & Settings > Restricted Mode Settings, the changes are automatically applied (if possible) to all subscriptions based on the “Admin Simple” service plan.
Note that to be able to create subscriptions when Restricted Mode is enabled, you must select the “Ability to create, remove, and switch among subscriptions” option in Tools & Settings > Restricted Mode Settings.

Enabling Restricted Mode and Power User View for Additional Administrators
You can enable Restricted Mode for additional administrator accounts. You can also switch them to Power User view. You can do this both when creating a new additional administrator account and when editing an existing one. If you do, these settings cannot be changed by the additional administrator.
To enable Restricted Mode and/or Power User view for additional administrators:
Add the following lines to the panel.ini file:
[extensions]
blacklist = "panel-ini-editor"
Go to Extensions > the “My Extensions” tab and make sure that you do not have the Panel.ini Editor extension installed. If you have, remove it.
Note
Extensions installed from sources other than the Extensions Catalog increase the risk that additional administrators can disable Restricted mode. We recommend that you remove these extensions.
Go to Tools & Settings > Restricted Mode Settings (under the “Plesk” section).
Clear the “Ability to use remote API” and “Updates and Upgrades” checkboxes.
Make sure that the “Scheduled tasks”, “Event Manager”, and “Backup manager” checkboxes are not selected. When they are selected, additional administrators can disable Restricted Mode.
(Optional) Select or clear checkboxes to show or hide the corresponding tools in Restricted Mode.
Click OK.
Go to Tools & Settings > Additional Administrator Accounts and click Add Administrator Account or click an existing additional administrator account.
Fill in the required fields (if creating a new account), and then select the “Enable Restricted Mode” and/or the “Force Power User view for additional administrator” checkboxes.
Click OK.
Now additional administrators cannot disable Restricted Mode and/or switch to Service Provider view via the Plesk interface.