Choosing the Color Scheme
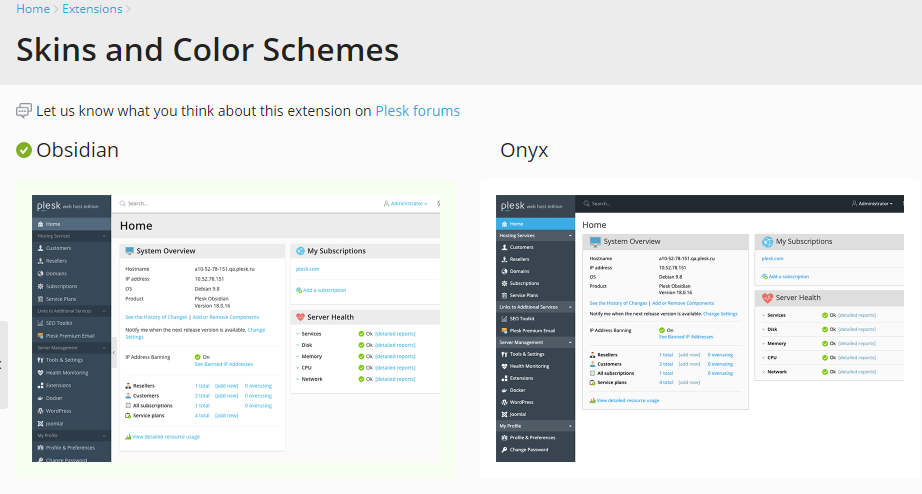
In Plesk Obsidian, the Plesk administrator can choose between two preconfigured color schemes: Obsidian and Onyx.
To choose your color scheme:
Go to Tools & Settings > Skins and Color Schemes (under “Plesk Appearance”).
Click the color scheme you want to apply to your Plesk interface.
By default, all Plesk users (customers, resellers, and so on) inherit the color scheme chosen by the Plesk administrator.
However, Plesk administrators can assign the Onyx color scheme to particular customers or resellers, while keeping the Obsidian color scheme for themselves and other Plesk users.
To assign the Onyx color scheme to a particular customer or reseller:
Connect to the Plesk server via SSH and run the following command:
plesk bin branding_theme -p -name onyx -vendor admin -destination <path/filename.zip>
For example:
plesk bin branding_theme -p -name onyx -vendor admin -destination /usr/local/psa/tmp/theme.zip
In the received archive, open the
meta.xmlfile and change the value of the<name>element. For example, change<name>Onyx</name>to<name>Onyx-reseller</name>.To assign the changed color scheme to a customer or reseller, run the following command:
plesk bin branding_theme --install -vendor <reseller or customer name> -source <path/filename.zip>
For example:
plesk bin branding_theme --install -vendor "reseller1" -source /usr/local/psa/tmp/theme.zip
The Plesk administrator and all users except reseller1 now can have
the Obsidian color scheme applied,
while reseller1 uses the Onyx color scheme.