Access from Microsoft Outlook on Android
You can set up Microsoft Outlook on Android automatically (which is enabled by the mail autodiscover feature) or manually. The following instructions were verified against Android 6.0.1.
To set up Microsoft Outlook on Android automatically:
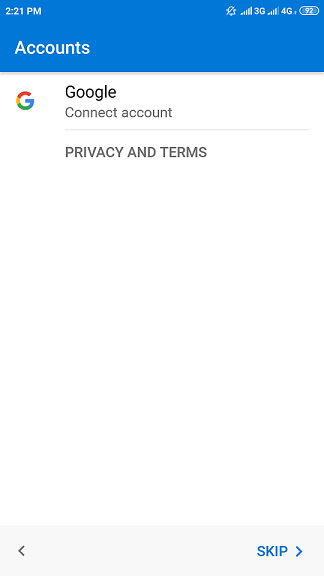
Open Microsoft Outlook, tap GET STARTED and then tap SKIP to skip the Google configuration screen.
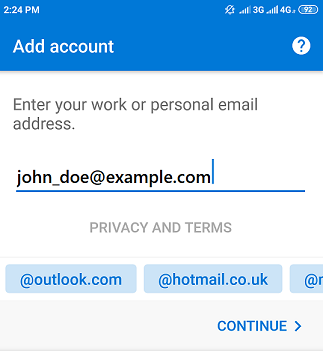
Enter your email address and tap CONTINUE.
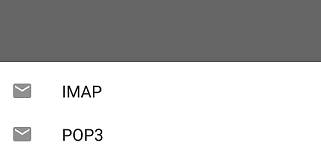
Tap the account type. To keep the copies of email messages on the server, select the IMAP option. If you do not want to keep them on the server, select POP3.
Specify your email account password, the display name, and then tap
 in the top right corner.
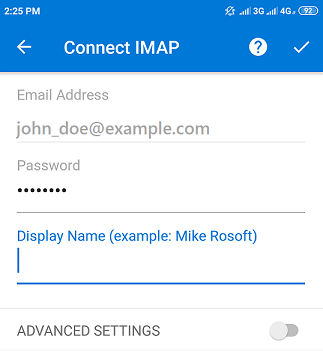
The application will automatically fetch the server settings and log in to the specified email account. Once the setup is finished, you will see that your email account was added.
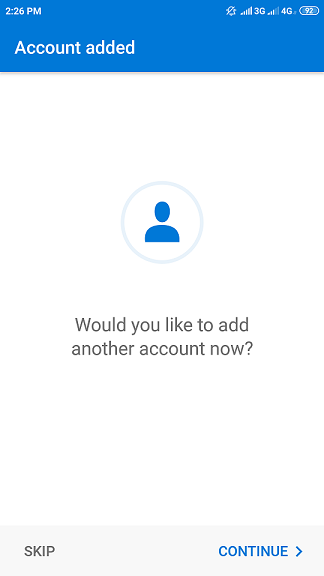
If you have finished setting up email accounts, tap SKIP to exit the setup.
The setup is done. You can now see the added account in Microsoft Outlook.
To set up a Microsoft Outlook on Android manually:
Open Microsoft Outlook, tap GET STARTED and then tap SKIP to skip the Google configuration screen.
Enter your email address and tap CONTINUE.
Tap the account type. To keep the copies of email messages on the server, select the IMAP option. If you do not want to keep them on the server, select POP3.
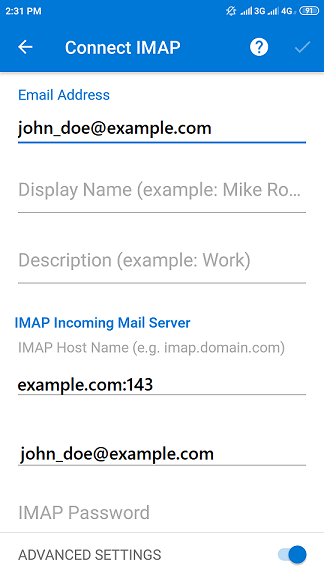
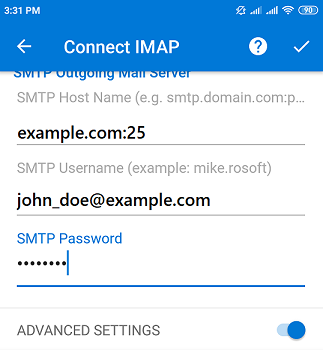
Turn on “ADVANCED SETTINGS”.
Specify the incoming and outgoing server settings, including the port numbers:
- 110 for POP3
- 143 for IMAP
- 25 for SMTP
Tap
in the top right corner. If the provided settings are correct, you will see that your email account was added.If you have finished setting up email accounts, tap SKIP to exit the setup.